It’s spring time and I’m in the mood for planting! Unfortunately for me, I do not have a green thumb. This week-end I visited a nearby garden center for suggestions on hardy plants that I wouldn’t cause an untimely death to before I returned to my car (yes, I’m that bad with plants).
I’ve always LOVED the look of succulents and lucky for me, turns out these babies are pretty low maintenance. Keep in mind, that came directly from an experienced gardener stating, “they’re plants just plant them and they’ll grow.” Ha! Not in my experience my super confident gardener friend.
Nevertheless, I was excited to create an arrangement for my window sill. Here are the steps I took after following tips from people that are way better at maintaining their plants alive.
1. Select a pot: I loved this pretty gray one I found at Home Depot (of all places)
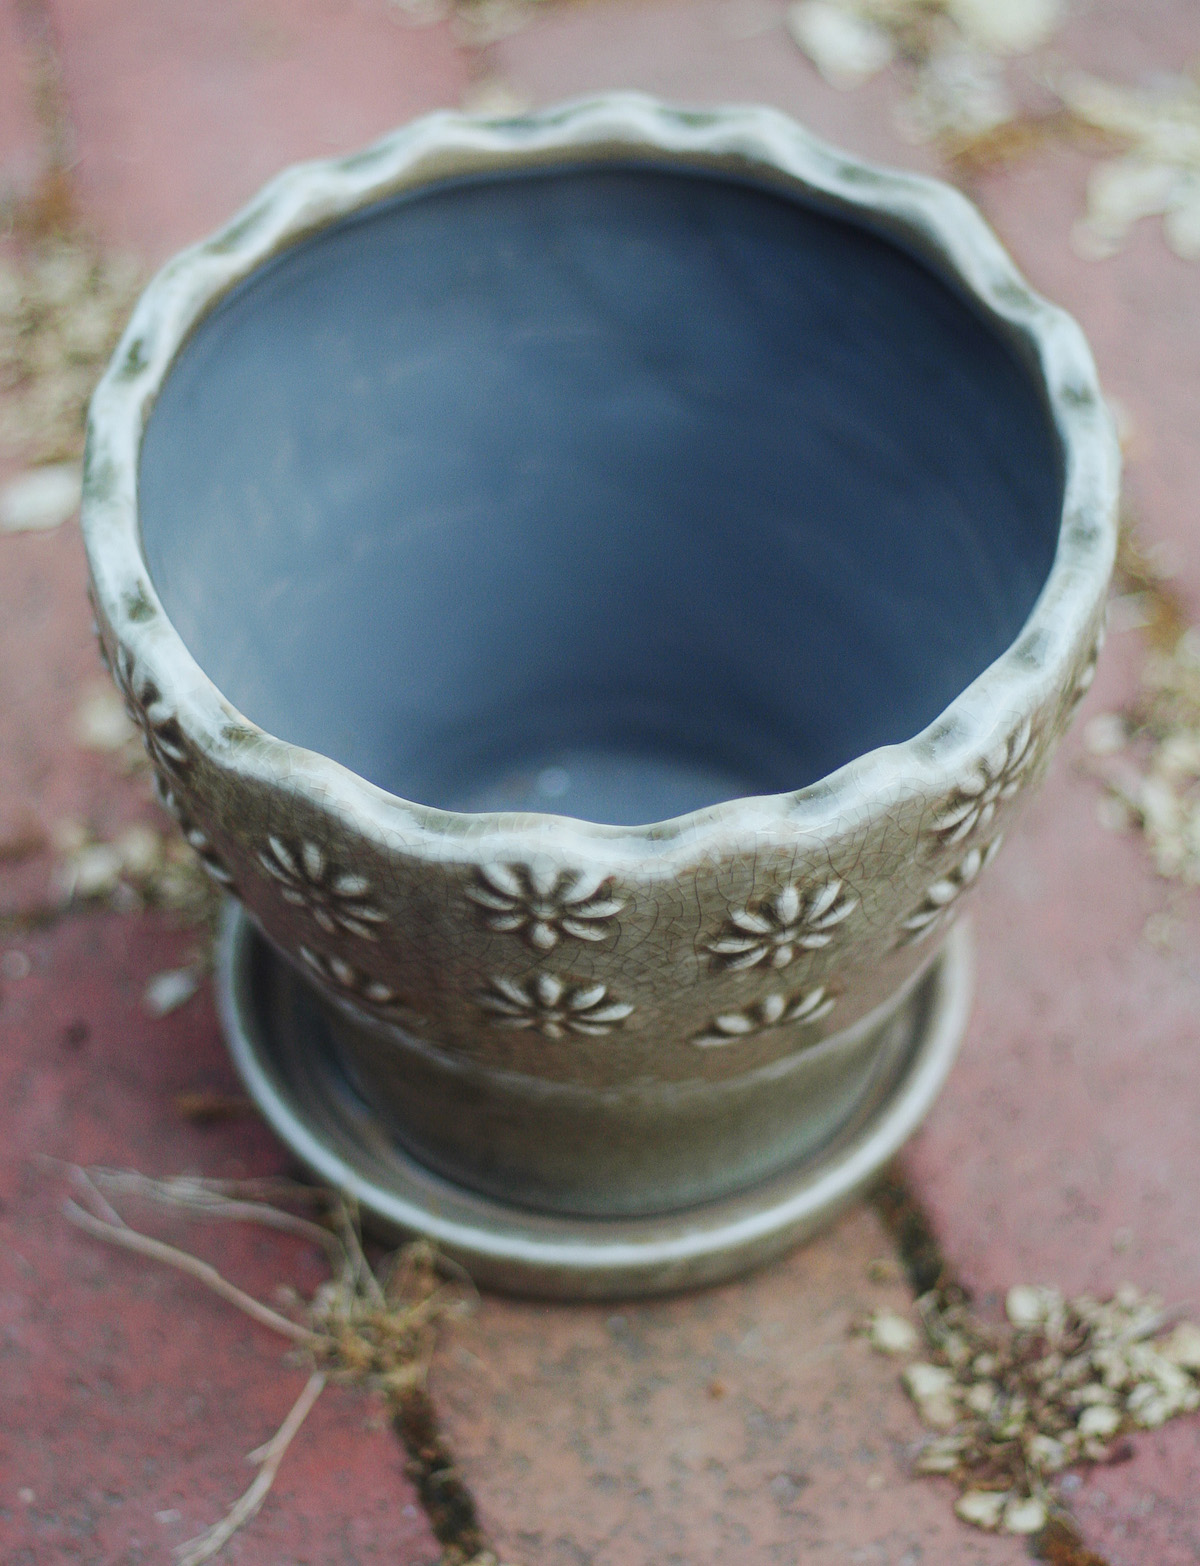
2. Combine Perlite, Sand and Garden soil for an easy DIY mix that works great for Succulent or Cactus plants
3. Enjoy your simple and beautiful succulent arrangement (I love the vivid green color on this one)
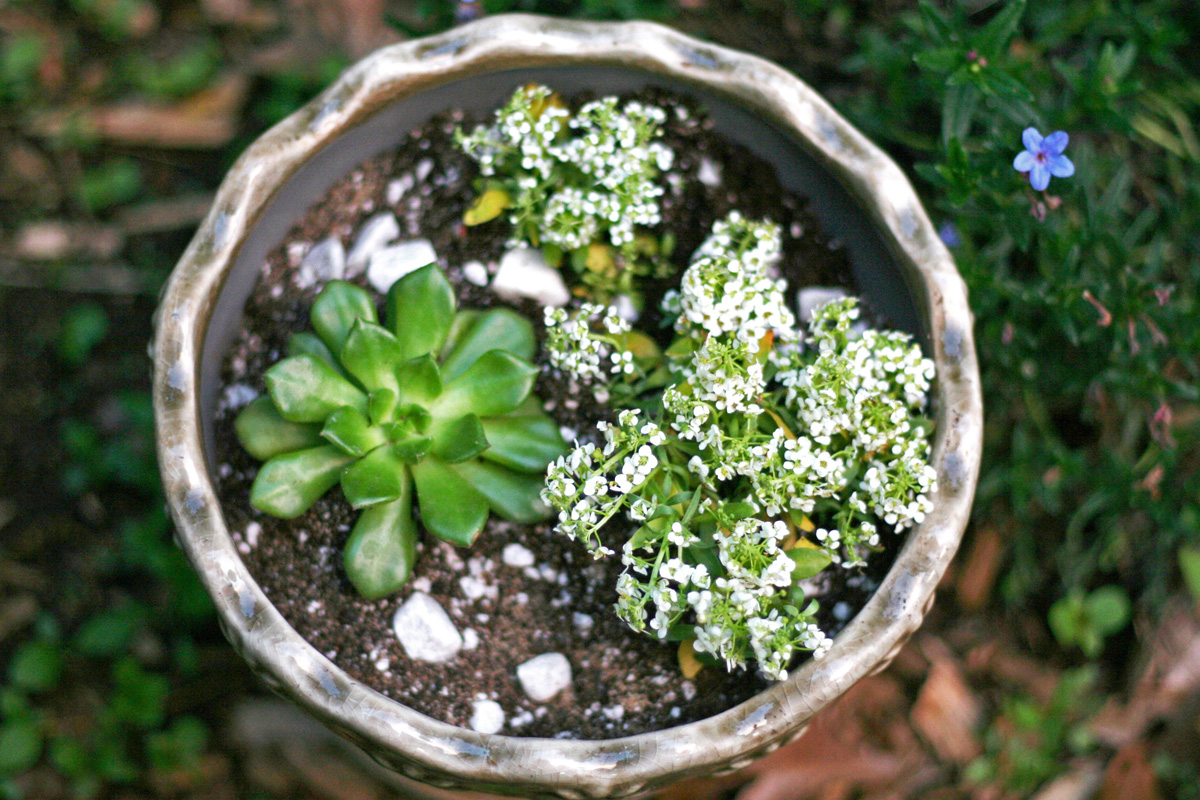 Note: the small white perennial flowers are actually separated in their own container, I planted them deeper than the succulent and added additional soil to prevent the container from showing. They will need more water than the succulent requires… it’s a bit of an experiment to see if by separating them this way I’ll manage to prevent too much water from reaching the succulent roots.
I love adding little touches of personality to our living space. Whether it be mine, my husband’s or a mix of both our tastes, I treasure making our house feel like home. Living in New England makes it particularly fun since it gives me an excuse to switch things up decor-wise and celebrate the upcoming season. Wreaths are my new favorite item to personalize and I love that you can customize one easily and have it hanging from your door in minutes!
To decorate my front door for the Fall I used a grapevine wreath that was purchased online along with a few faux floral accents purchased from a local store:
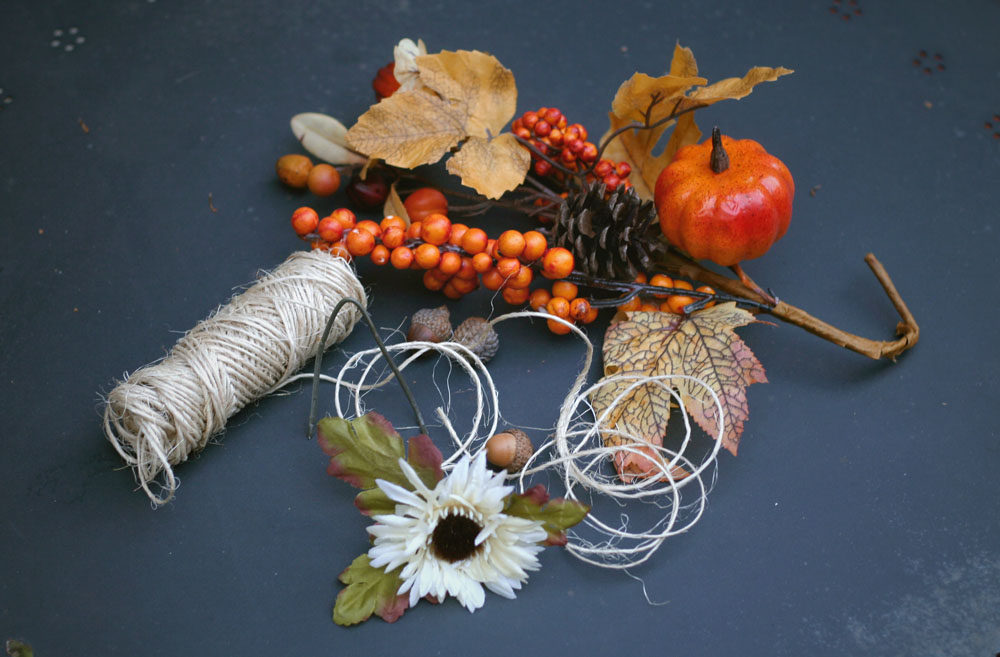
Here comes the complicated part. Are you ready? Take the wire stems from your accent pieces and wrap them around (or gently wedge into) different sections on the wreath. I know, I know, you may have to read that part again but that’s really it.
Now comes the ribbon – it’s like putting the topper on a Christmas tree! You can go with something traditional, whimsical, elegant…I opted for a black and white gingham pattern that felt a bit country chic. To me it evokes a cozy and inviting feeling and hopefully for my guests as well.
I saw my sister make a bow once and tried to recreate it from memory…lucky for me metal wired ribbon is VERY forgiving. There are thousands of online tutorials for how to make a beautiful bow, so I’ll spare you my “bunch it up and hope it looks good” approach. I used a bit of twine to attach my bow to the wreath and here’s the final look:
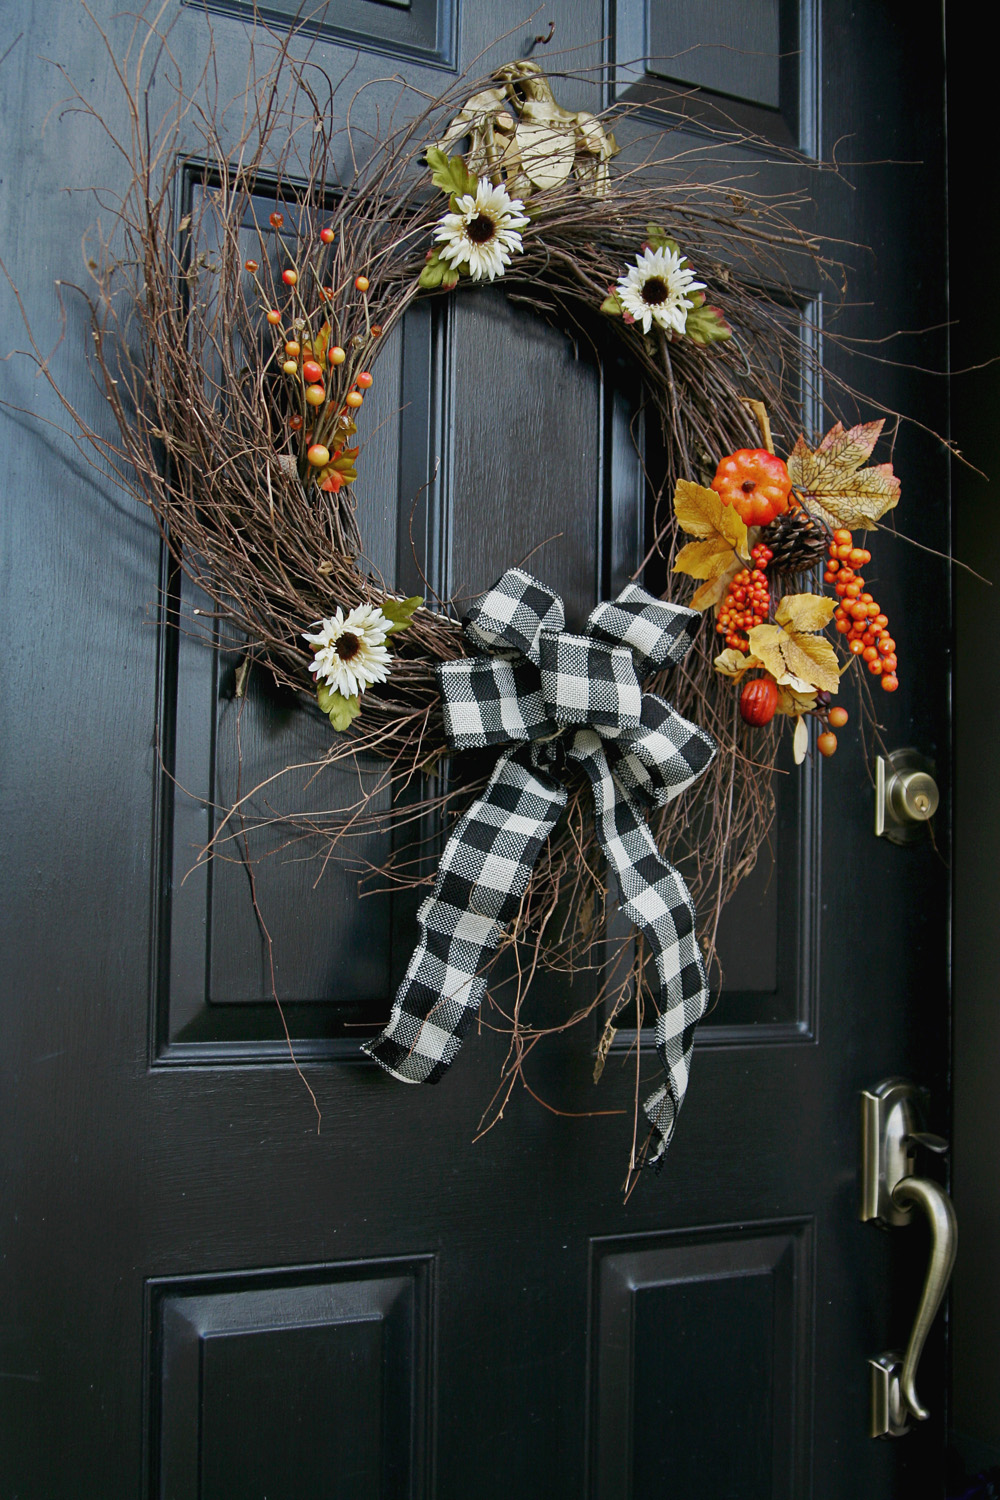
As you can see there was no complicated tutorial here but that’s the point – adding personal touches to your home decor shouldn’t be intimidating. This project allows you to create a unique wreath at a fraction of the cost of purchasing a decorated one and since there’s no glue-gun involved you can repurpose the same wreath by using different accents for various occasions.
Let me know if this inspired a little wreath DIY in your home.
If you love DIY, then you’re probably no stranger to spray paint. To celebrate the start of Autumn, I rescued half-used cans of spray paint from the cobwebs in my basement and prepared for my first decor project of the season.
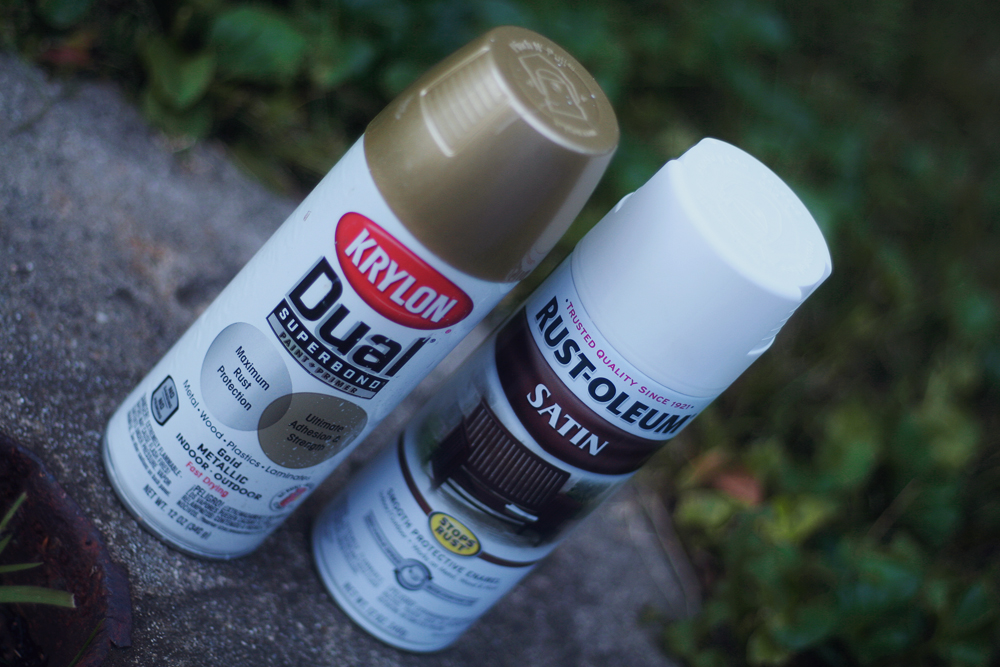
I don’t go extreme with Fall decorations but love mini pumpkins and wanted to incorporate them as accessories on our mantle. The problem? I wasn’t feeling how the bright orange pumpkin color stuck out in contrast to the mostly neutral color palette of that room. I decided white, brown and sage would look much nicer against our brick wall along with a metallic spray paint. My first pumpkin was painted all in white (stem included) followed by a few quick sprays of gold that naturally dripped down to create the effect you see here:
Others were haphazardly sprayed to allow the natural pumpkin color to peek through. I also purchased tiny gourds, layering on different spray paint colors for a subtle shimmer or speckled effect.
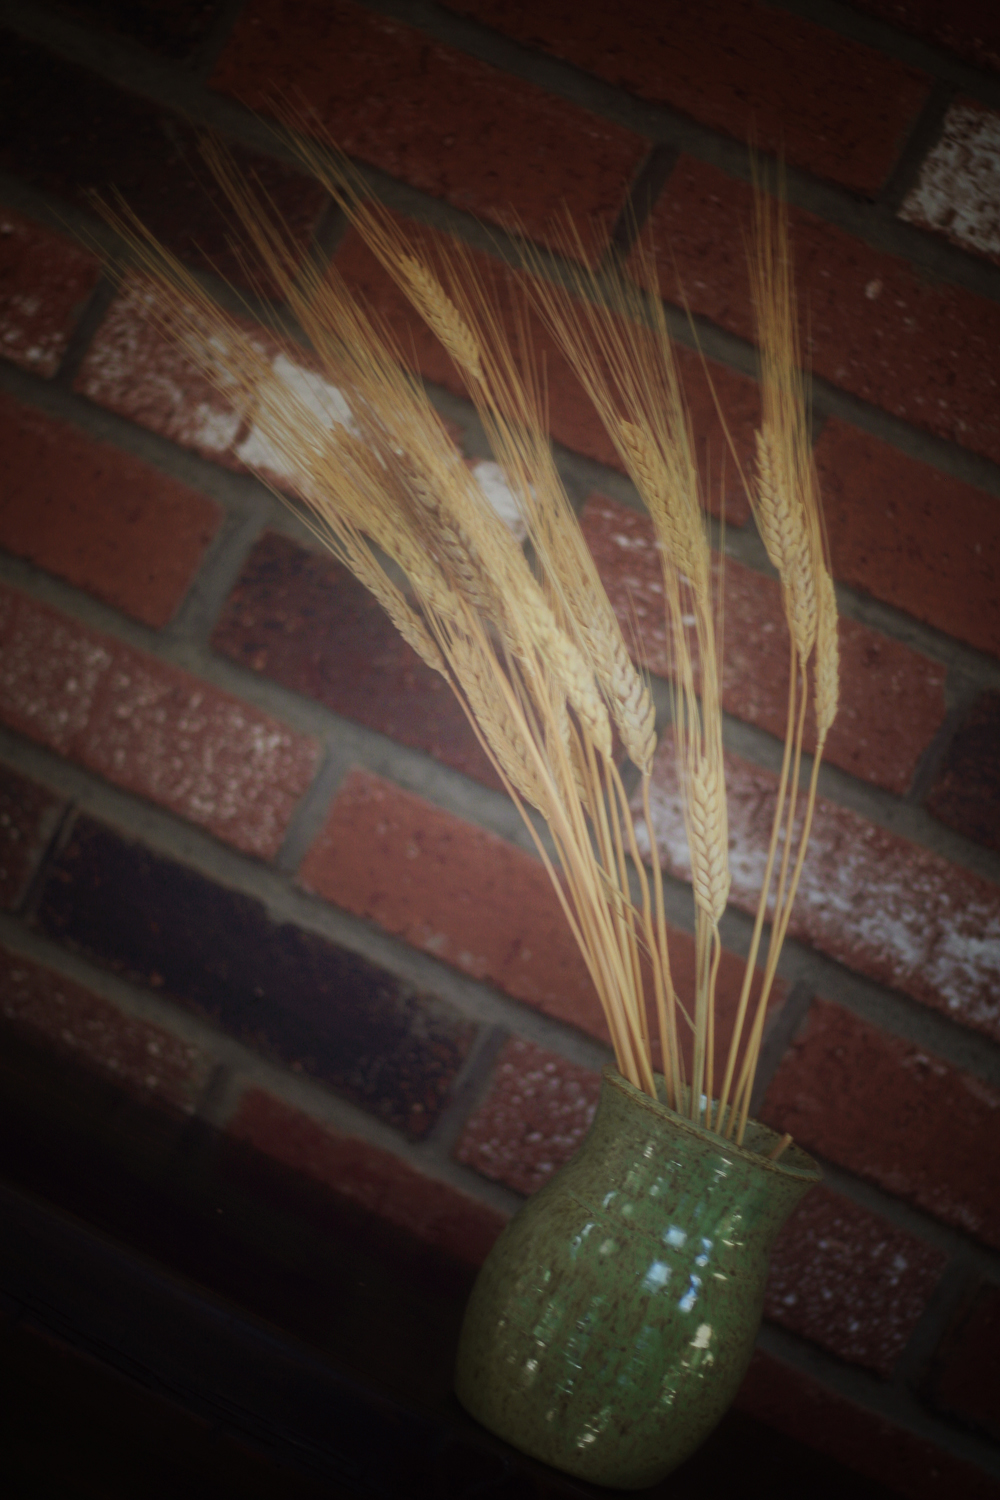
Make sure to allow time for the spray paint to completely dry before moving your pumpkins to their final location – I left mine outdoors for a few hours before moving inside. The final touch was finding this bit of wheat (left over from a party the year before) to arrange in a small vase and my Autumn inspired decor was complete!
Proud of your DIY fall decor? Feel free to share ideas in the comments below.
I’ll keep it real for you – I’m not the “crafty” type but I do believe in customizing a home to your unique taste. In the “Do-It-Yourself” section I’ll most likely share ways that I have re-vamped older furniture or put personal touches to improve the look or function of a room.