Mindfulness is often talked about in relation to serious topics like mental health, nutrition and career choices but did you know that being mindful can be a useful tool for things like home décor?
Most of us try to decorate with things we love and colors we like but sometimes that may be tricky to identify. Learning to pay attention to what we are attracted to in different areas and staying curious can help uncover elements of our style and get creative with choices that truly reflect our personal taste.
When asked what my favorite color was, for years I would say, “blue.” I used to think: red is too flashy, nobody likes orange or green, I’m pretty sure I don’t love yellow…so blue it was. I mean blue is nice but was it my favorite? And why exactly did I like it?
I started questioning this choice after a boy asked me that same question a few years ago and when I stopped to think about it, proceeded to say, “I don’t have one.” This was unacceptable for a child – “everyone has a favorite color,” he said. He wasn’t wrong but I was done saying blue for the sake of saying blue…so I started paying more attention to my surroundings and what I was drawn to in order to be prepared the next time this critical question came around.
I soon recognized a pattern of positive feelings emerging when I saw green. The crisp look of grass when I walked through a park in the Spring energized me, I loved how I felt when I looked up at the trees from the hammock in my backyard during Summer. The mountain bike in my garage I suddenly recalled selecting because of the bright green paint stripe on the dark gray frame (performance clearly came second).
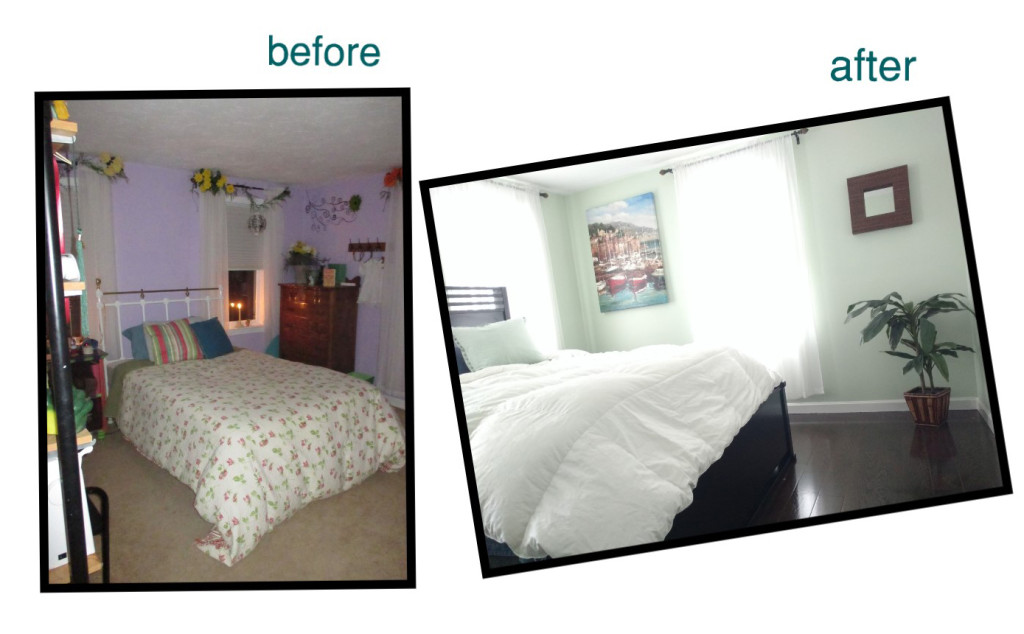
With this new insight I started to re-decorate some of the rooms in my home. My home office got a dose of happy with accent pieces in bright green tones and next up was painting the guest room. I didn’t want anything that would turn guests off but still wanted it to reflect my personal taste.
Narrowing down a green wasn’t difficult (the final choice is on the right) but I was stuck on the palette for the rest of the room.
I could have gone with neutrals or pastels but that felt too much like a spa theme which was not the look I was going for. This is one of the brightest rooms in the house – it’s a happy room and it called for something different.
For weeks I did nothing with it – not knowing what direction to go in and then my friend posted a photo of what she was about to eat:
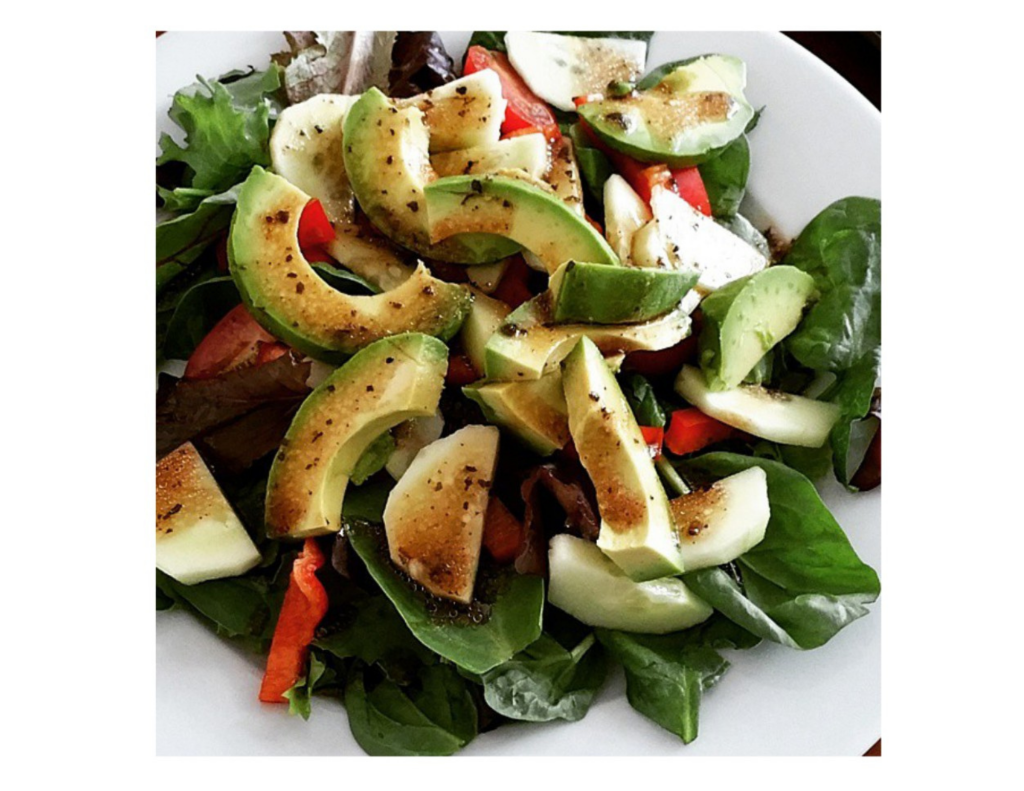
I wasn’t big on avocado back then, nonetheless, her lunch of vibrant greens and bright red peppers looked so pretty!
Red is one of my least favorite hues but by combining the bold color with a pale green and perhaps a gold metallic, I knew this salad inspired palette would create the fresh and energetic vibe I was going for.
When I wasn’t trying so hard and simply noticed my reaction to a photo, I was able to use that information to update our guest room with décor that I’m really happy with.
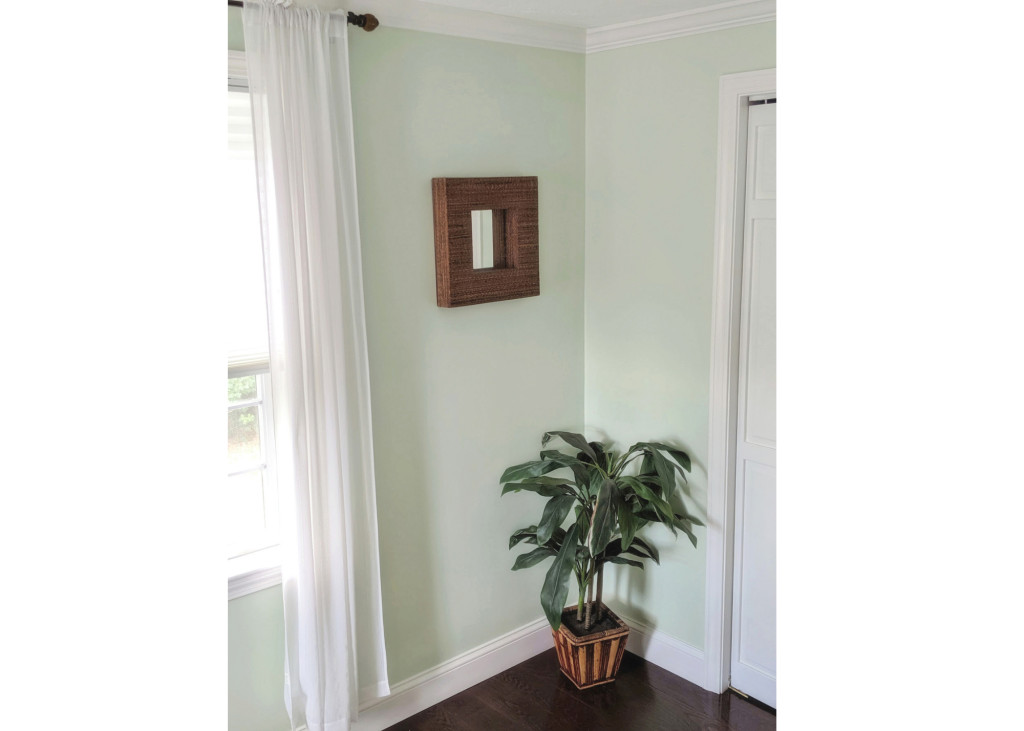
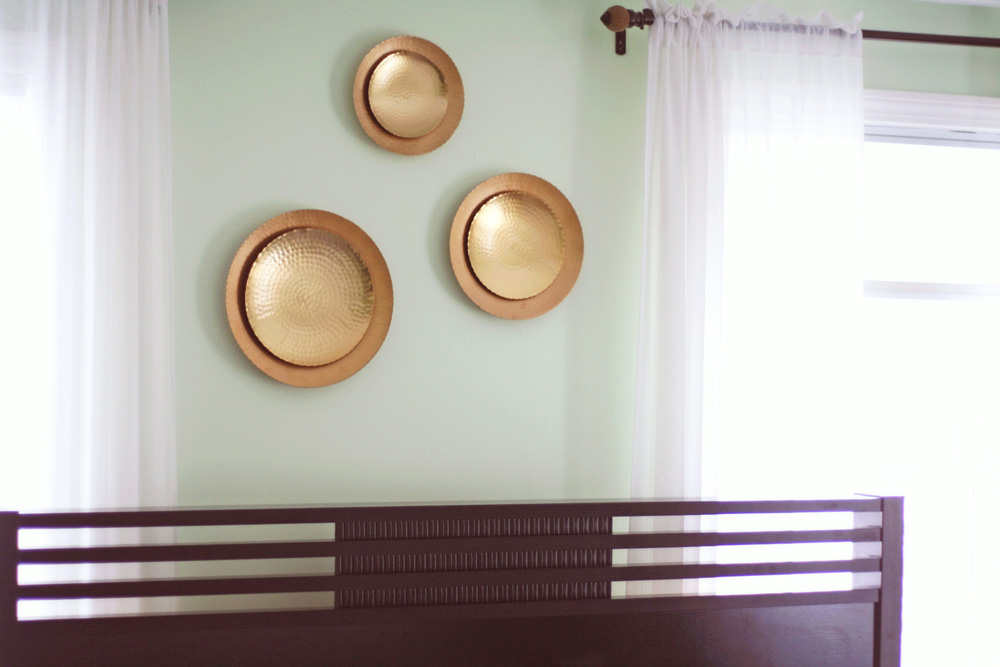 Crown molding and a wider baseboard was later added:
A little back story on the purple room:
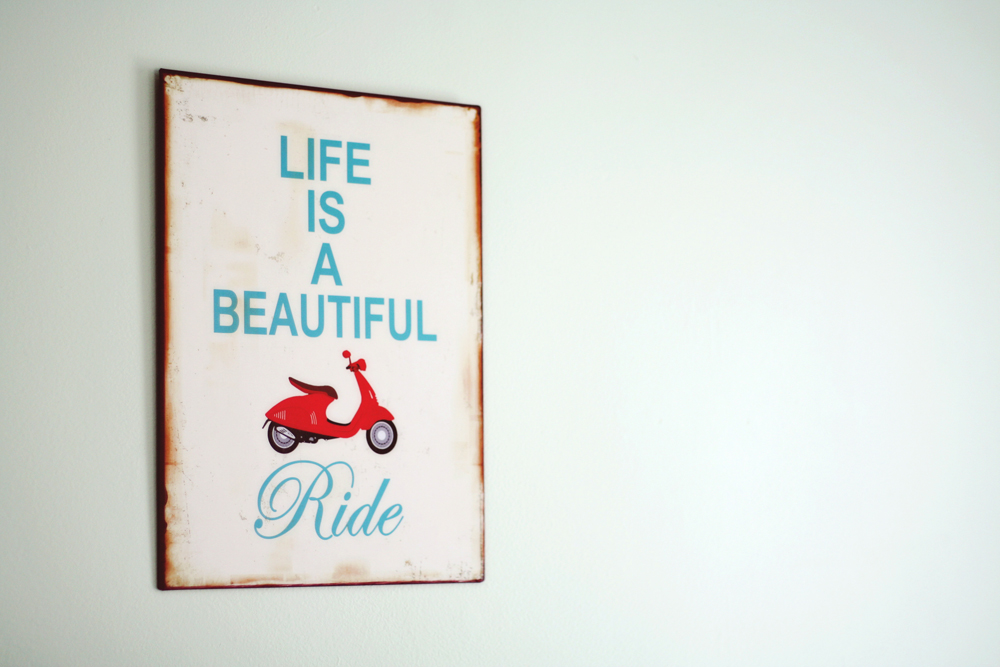
When we moved into our house, what we ended up using as a guest room was lavender (as seen in the ‘before’ pic). The previous owner’s teenage daughter painted it along with flowers and inspirational quotes on the walls.
Part of me was sad to cover it up because it reminded me of the years when my sister and I would pretend to be interior decorators and change things up in our shared room to meet our personal tastes as we grew up. Sometimes this meant paint, often it was just new comforters or curtains and one time my sister even made a DIY headboard (this was before online tutorials, Instagram and Pinterest) for our bed.
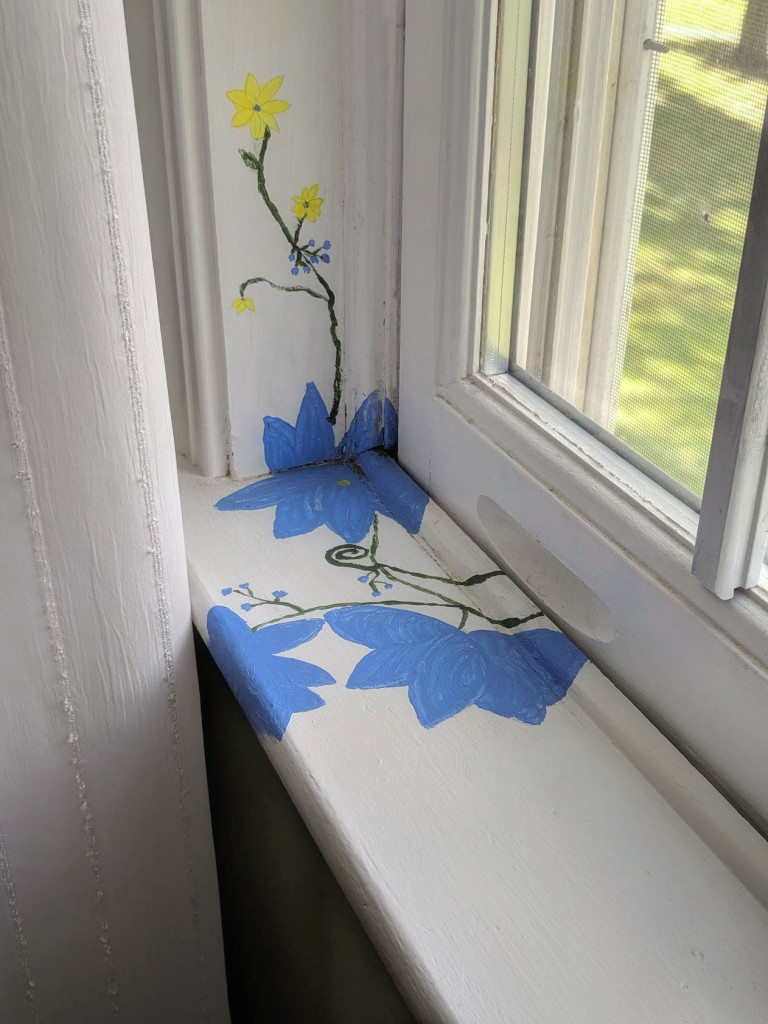
While I went ahead with the color change I discovered these painted flowers on the window sill and decided to keep them there to celebrate that creative spirit. Hope you feel that spirit and a little sunshine today.
This time of year I’m always reminded of our trip to Iceland. It’s been 5 years since my husband and I took a trip there and we can’t wait to go back. Iceland has gained a lot of popularity as a place to visit but back then most people reacted with a perplexed look on their face when I mentioned where we were going. Many were curious because they didn’t know anyone that had ever visited, perhaps some wondered why we were choosing to vacation somewhere cold vs. a beach destination. I didn’t have a good answer when they asked, “Why Iceland?” Though I thought to myself: “Why not?”
Stunning photos of the landscape in Iceland captured my attention but I didn’t know much about the country before planning our trip, which may have contributed to the allure. To quote Diane Arbus, “My favorite thing is to go where I’ve never been.”
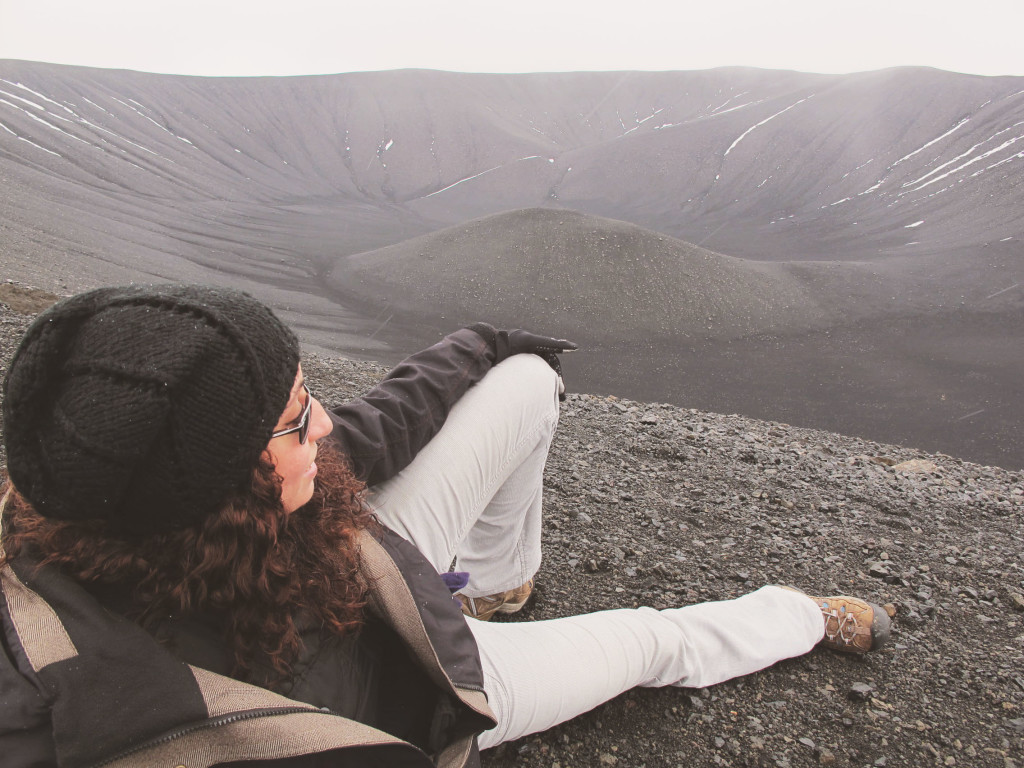
With my favorite travel partner, I embarked on an 8 day journey along Iceland’s ring road. Starting in Reykjavik, we drove around the country making several stops along the way. When we first arrived my husband said, “this is how I imagined it would look like on the moon.” As I took in the lunar-like landscape, it was hard to disagree.
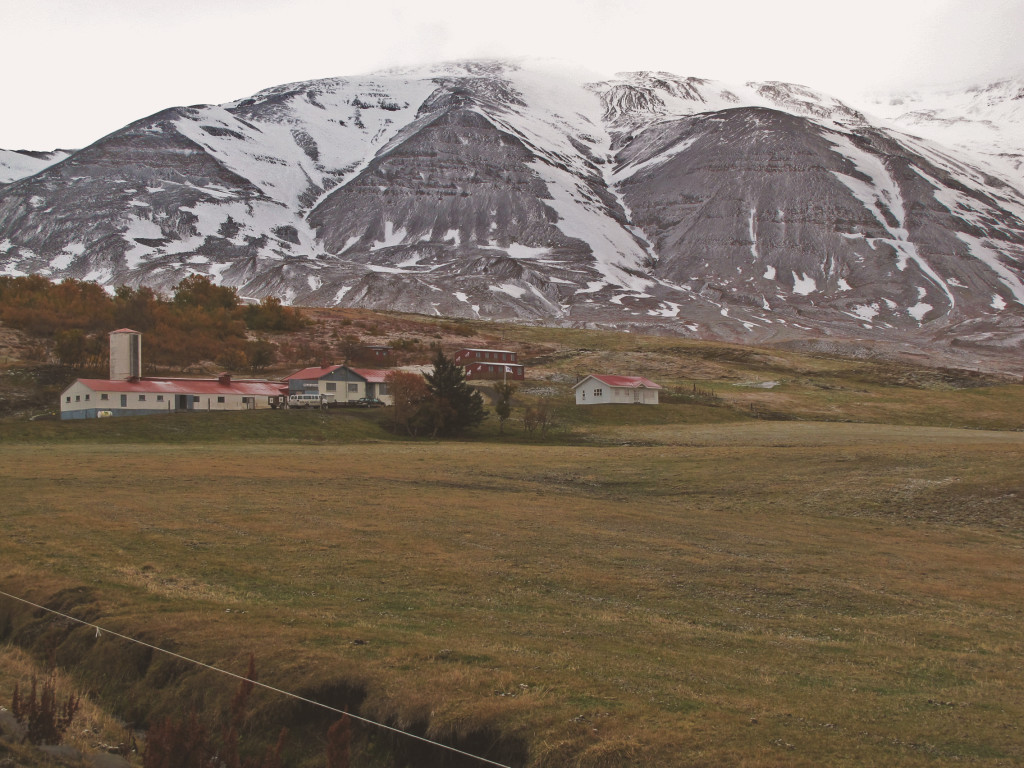
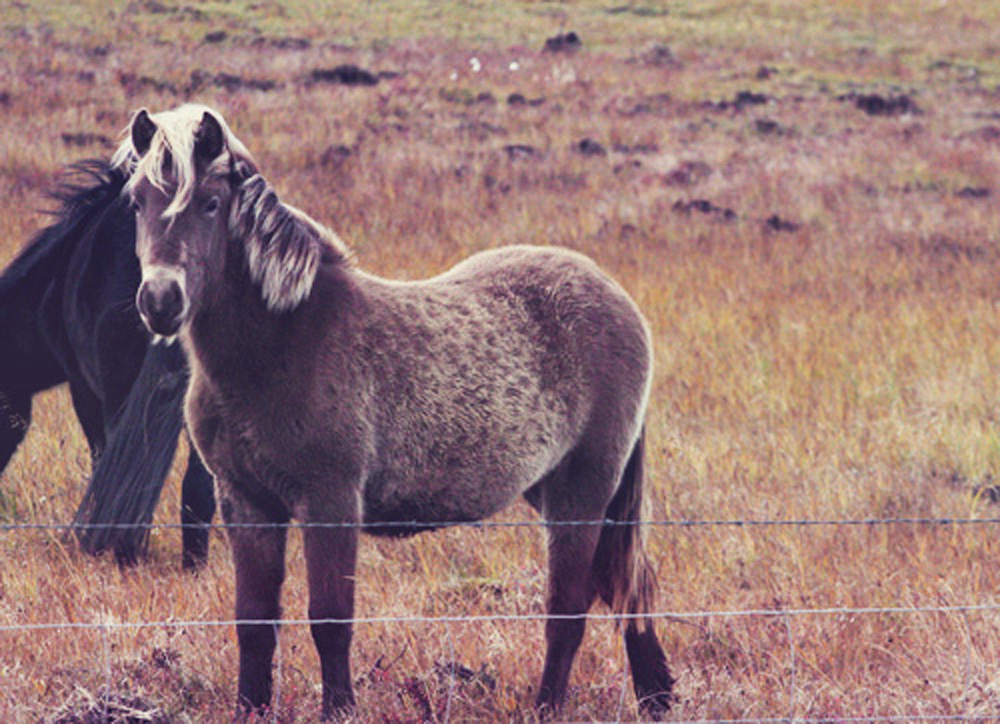
Sometimes Iceland makes you feel like you are on another planet…and other times you’ll encounter areas fit for a fairy-tale, complete with quaint villages and majestic horses (sporting seriously cool manes).
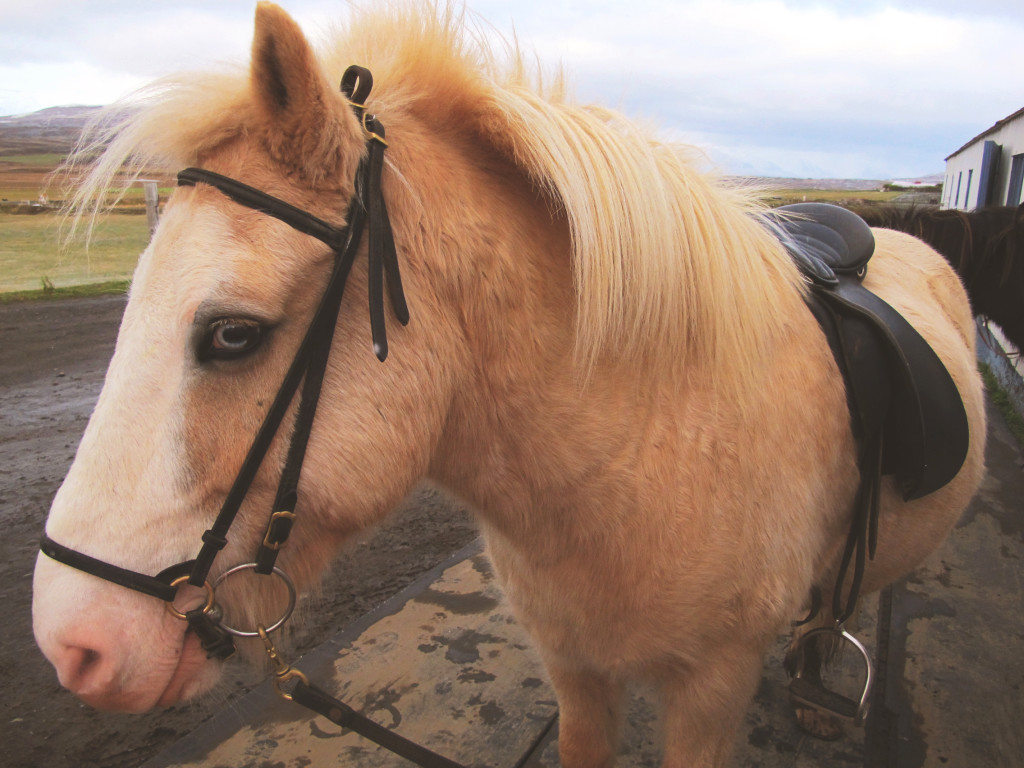
Don’t let their small stature fool you, the strength and endurance of an Icelandic horse is no joke.
The further we drove, the more we became captivated by our surroundings. At that time I didn’t meditate but I’ve recently begun the practice and it’s the closest I can come to explaining how I felt in Iceland. You’re equal parts isolated (we drove miles and miles without seeing anyone), embraced, and humbled (by the beauty and power of Mother nature), resulting in thoughts that matter seamlessly coming to surface.
One day you are hiking and admiring turquoise waters in the distance:
Another day brings you to a black sand beach with columns leaving you to wonder how these structures even came to be? Hint: Lava.
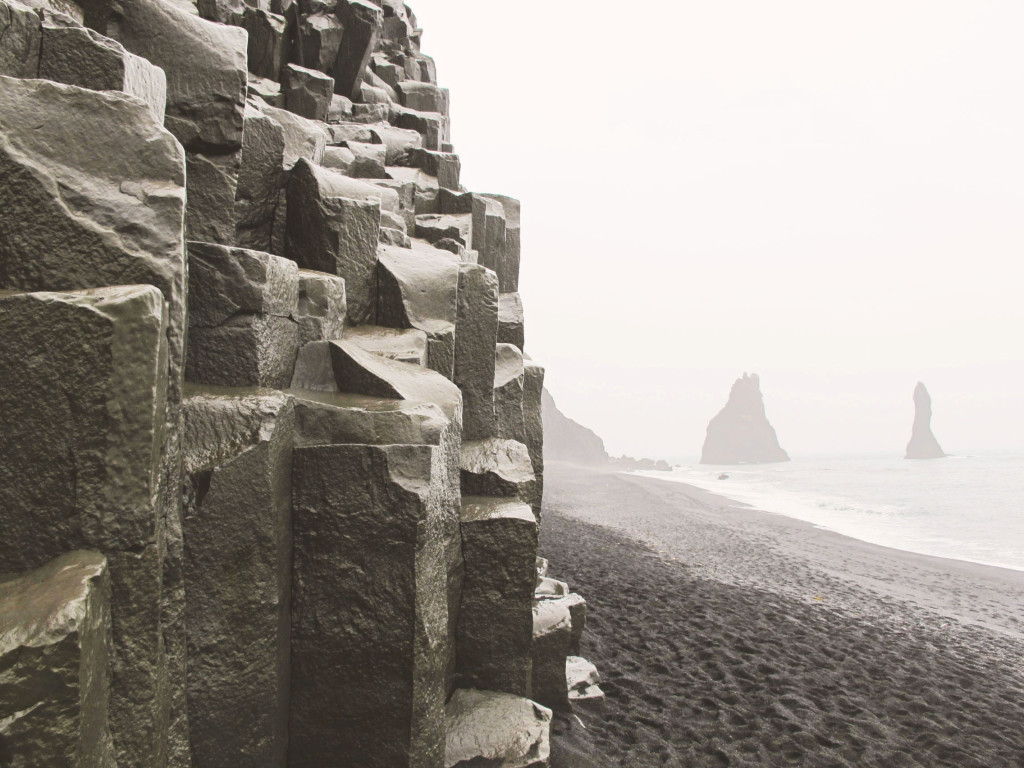
Reynisfjara beach near the town of Vik on the South Coast (many people visit here as a day trip from Reykjavik).
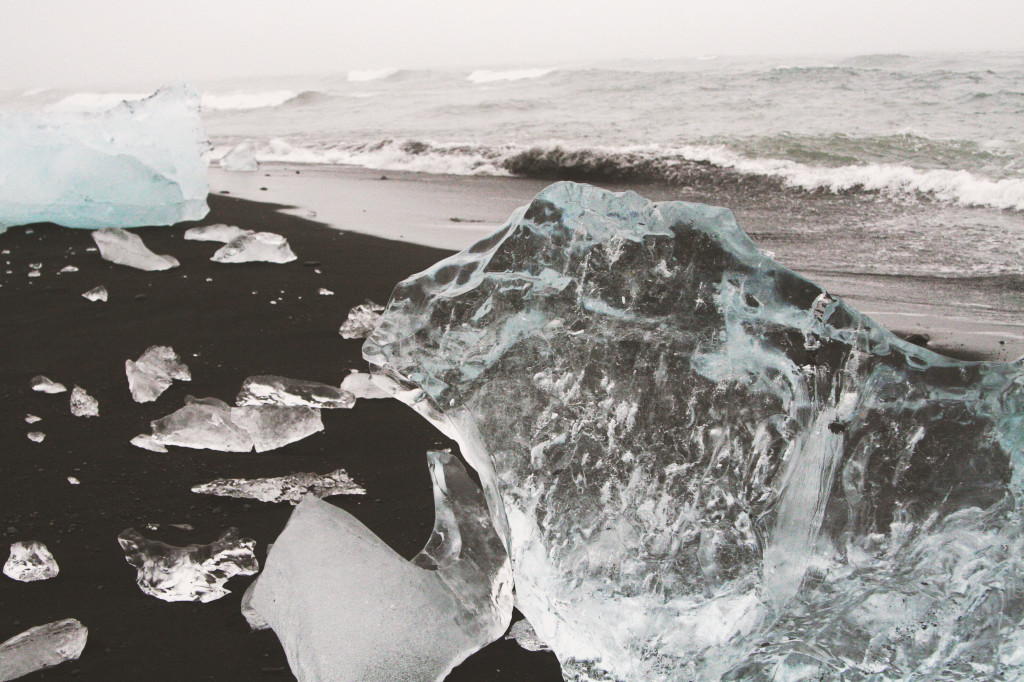
Just when you think the sights couldn’t be more diverse, your husband pulls over spotting what looks like gigantic diamonds off in the distance. We were en route to Jökulsárlón Glacier Lagoon when this happened and later found out that the area we came upon was in fact known as “Diamond Beach.”
Below is an image of “kissing” icebergs taken during a boat tour of the lagoon:
 So, what else did we stumble upon on our trip? Waterfalls, lots and lots of waterfalls (the country is home to more than 10,000). Here is one we came upon that was not on our “must-see” list but ended up being a favorite.
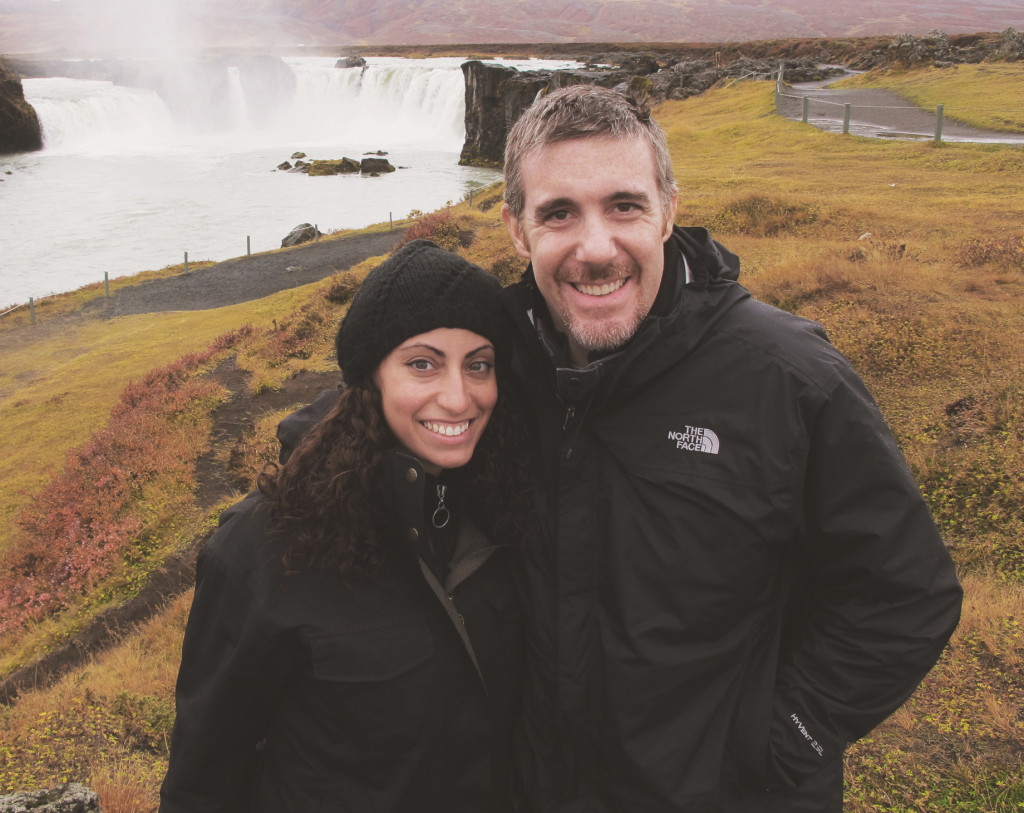 I planned this trip near my husband’s birthday and knew he’d be excited at the chance to catch a glimpse of the Northern Lights. With only a couple of days left to our trip we had yet to see them but a friend connected us with someone he knew in Reykjavik who graciously took us “northern light hunting.”
With his assistance we were able to reach a remote area and witness the natural phenomenon of the dancing lights!
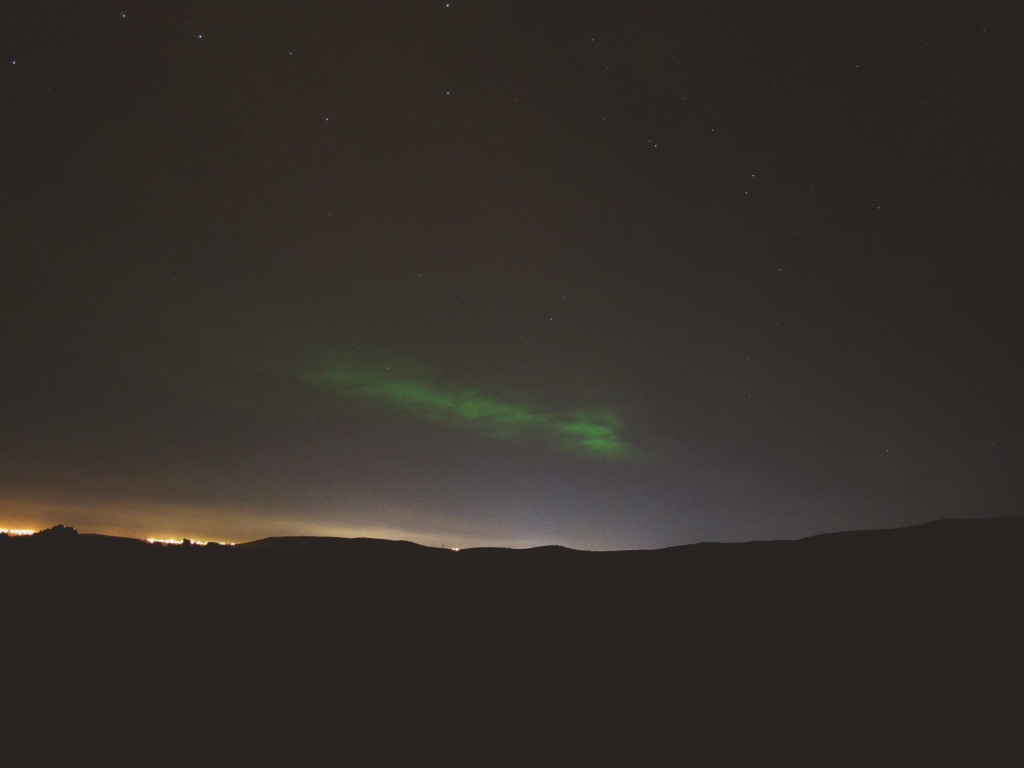
This was about a level 3 – faint to the naked eye but easily captured with a camera on a slow aperture setting. Aurora activity wasn’t strong that night but we were o.k. with that – having already discovered this country was magical for so many other reasons.
I did not expect to LOVE Iceland. That’s what’s amazing about going to new places, meeting new people, trying new things. It makes getting out of your comfort zone worth it because you never know what you may learn or how it will change you.
Our visit made me respect and appreciate nature like never before. Beyond that, the surroundings had an effect on my soul and on my mind – jumbled thoughts became simple, clean, clear.
Our trip was in 2013, which was also the year I found the courage to start this blog (though I hadn’t yet shared it with the world). As we passed dramatic view after dramatic view, I remember thinking about and trying to make sense of why I wanted to start this site in the first place. My goal was not to become a famous blogger, I didn’t have something to sell but I couldn’t shake this feeling of wanting to express myself, to create and to share…and it was then I decided, that was reason enough.
I stumbled across this quote from Hemmingway and it could not be more fitting to describe my husband’s love for this city and how it has influenced his life.
I’ll share memories of my visit to France in a future post, but for now I wanted to leave you with this image. Although it’s blurry and the composition far from perfect, I love it. My husband once took a year to live in Paris as a young adult and Notre Dame is his favorite architectural structure. When I look at this photograph (taken on our first trip to Paris together and his first time back in quite some years), I imagine the memories of his time in the city flooding back to him. The nostalgia he must have felt as he stood there thinking about that time he took a chance and left home to live with a family he had never met, who spoke a language he didn’t speak, becoming enamored with this beautiful city and all that it offered. Perhaps also Parisian girls but I don’t get to hear about that part.
When planning our vacation to the Azores, climbing Mount Pico was immediately at the top of my husband’s “must do” list and (for a while) it was at the bottom of mine. You see we had both been working long hours prior to the trip and I was preparing for some serious R+R. While I was ready to explore the beautiful islands of the Azores, I didn’t envision hiking a stratovolcano and certainly not one that Google searches had revealed would take hours of steep walking and some climbing to reach the top. Don’t get me wrong, achieving this would be cool but tiring and I was already tired, plus I hadn’t been to the gym or done much exercise in any form for months and I feared that Pico would conquer me.
Nevertheless, hiking Pico intrigued me and since vacations are also about new experiences, it didn’t take long for me to get excited about it.
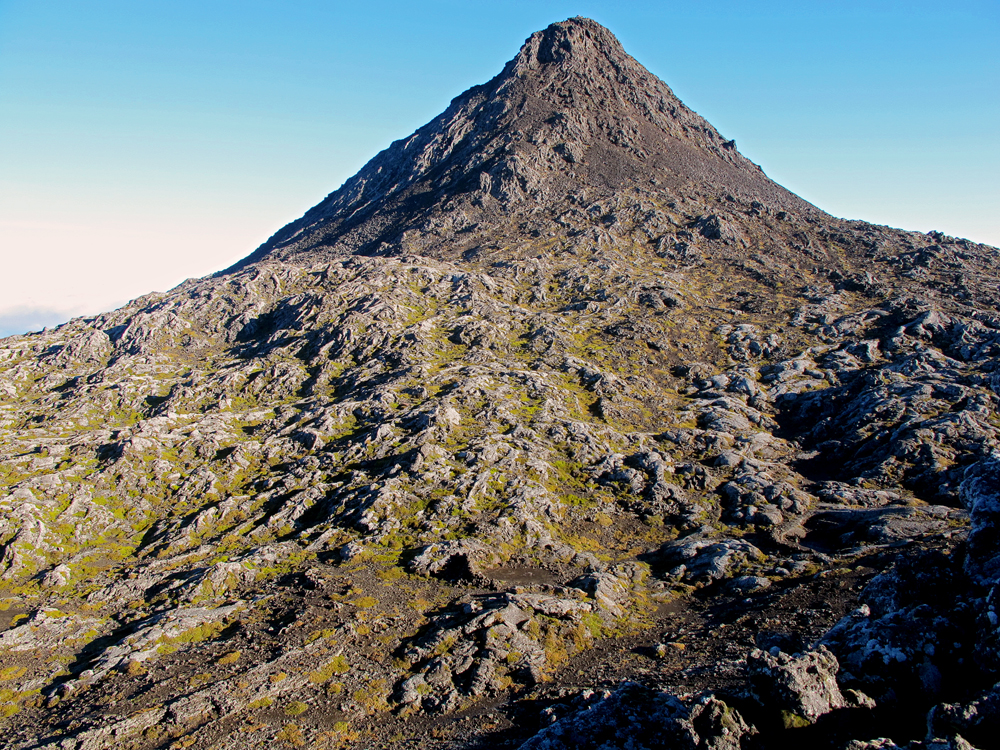
 The photo above was taken in the Azorean island known as Faial, with Pico in the distance. In that moment I felt confident and ready to take on the challenge. We decided to hire a local guide (Quim) to lead our Mount Pico adventure. My husband has more experience hiking than I do and has a great sense of direction, so we debated this for a while but I’m so glad we went with someone that knew the Mountain. Quim suggested we start as early as possible, letting us borrow his headlamps as we began our hike that morning.
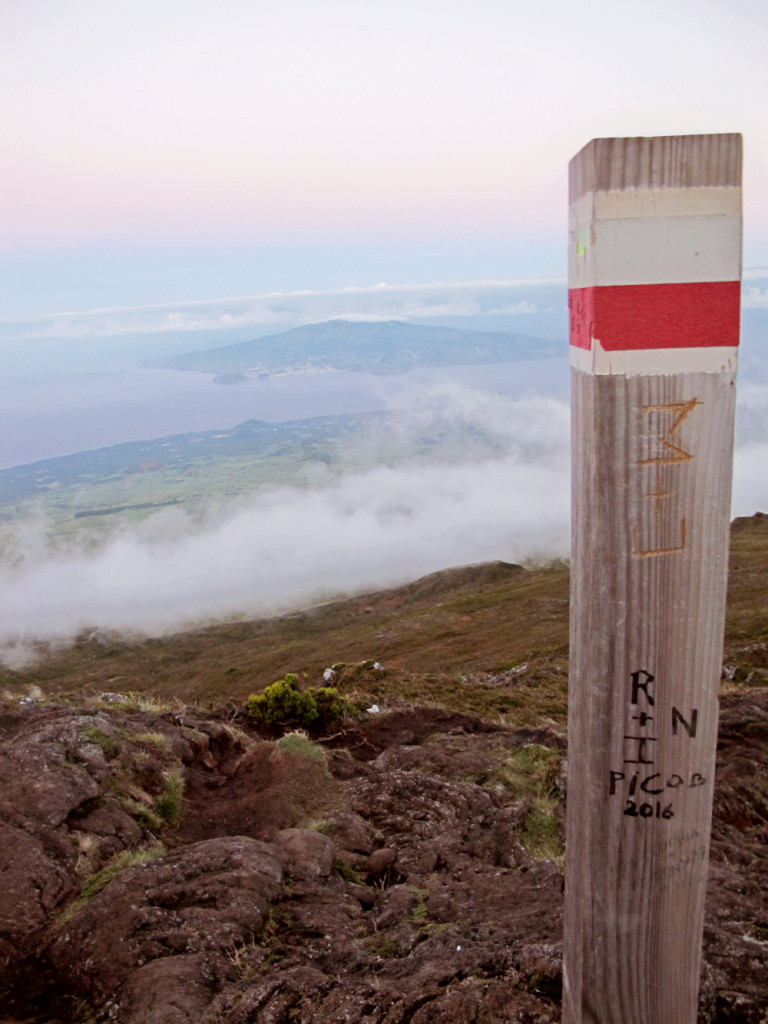
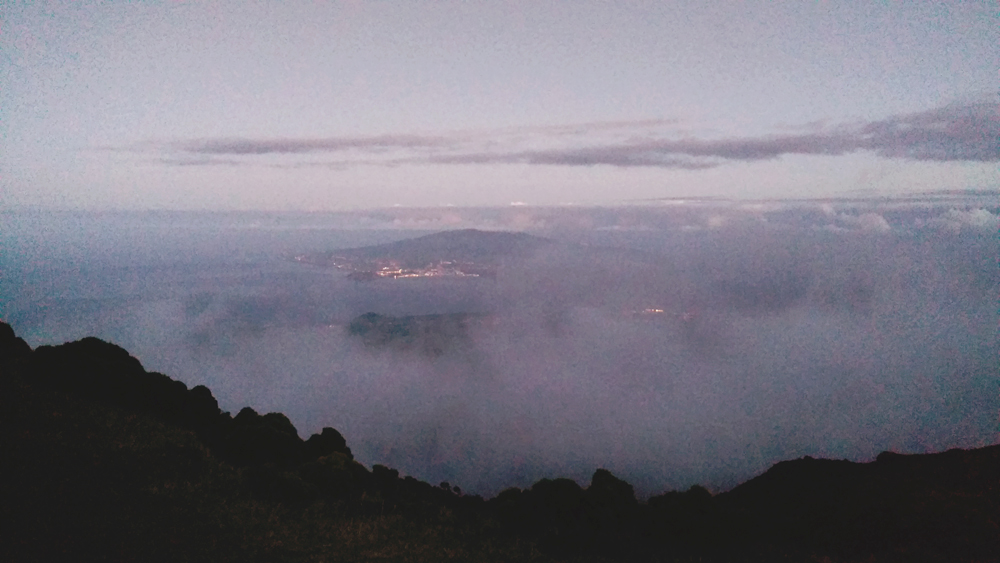 Once the sun came up we started to enjoy the unique environment that surrounded us but as we passed trail post after trail post (there are 45 of them), reality set in for me that we still had a long way to go.
On our way to the peak I was focused and didn’t talk much (mainly to reserve my energy). I don’t know about you but when I’m on a treadmill I rarely put that incline setting all the way up to 10 and I was feeling this. It made me feel better having read that even experienced hikers find Pico deceptively challenging due to its steep and rocky, lava formed terrain. Plus, Quim (that’s him in the orange jacket) was keeping us on a steady pace as the clouds were rolling in and he wanted to ensure we didn’t miss our chance at the ultimate view.
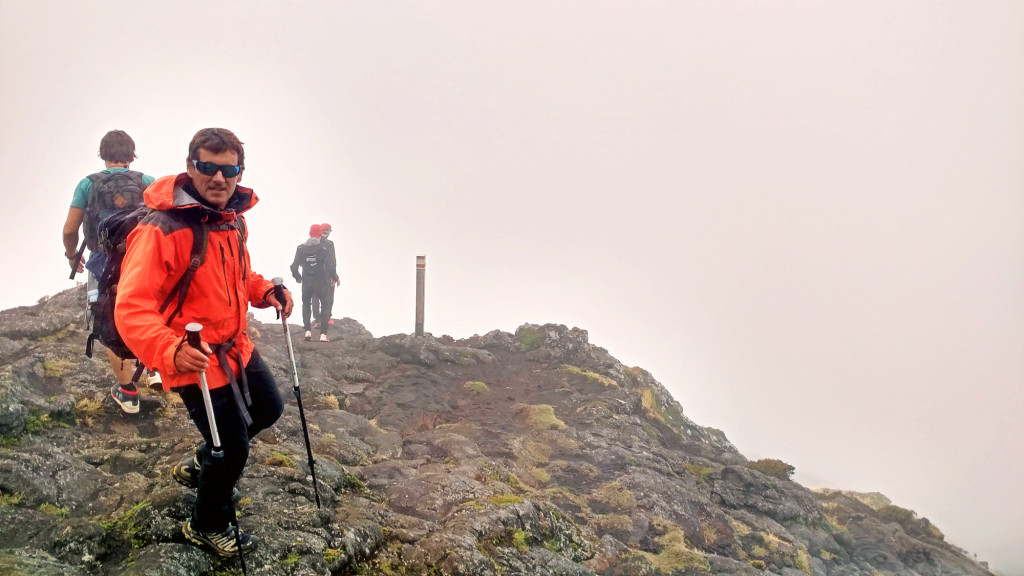
About 2.5 hours into our hike we were nearing the final section of the mountain. Pico has a large crater at the top and in the middle of it a 230 foot volcanic cone, known as Piquinho, which leads to the final summit.
At this point Quim told us to prepare for what he referred to as the Spider-man climb. The kid in me thought, ‘that sounds awesome!’ but the adult in me was about to catch up.
We were going to have to use our hands now, I reluctantly let go of my walking poles, looked up at the vertical climb ahead and realized that I wasn’t quite ready for my superhero debut.
Noticing my hesitation, Quim asked if I was o.k. and I responded: “I’m fine, just need a minute – forgot to mention that I’m afraid of heights.”
“Really? What are you doing here?” he asked.
His dry delivery cracked me up and at the same time I couldn’t help but think about the fact that I do this a lot in my life. Not the hiking volcanoes part but jumping into things a bit out of my comfort zone and trusting that it will all be ok in the end. I have yet to figure out if it’s a ridiculous move or brilliant?
As I contemplated life (and turning around) my husband jumped in with encouraging words and very practical ones like “DON’T LOOK DOWN.” Quim also tried to snap me out of it: ”Trust your hands. Trust your feet. Keep climbing. They are just rocks.”
The moment was like a real life version of a motivational poster – my fear slowly dissipating into an awesome landscape with each step I took.
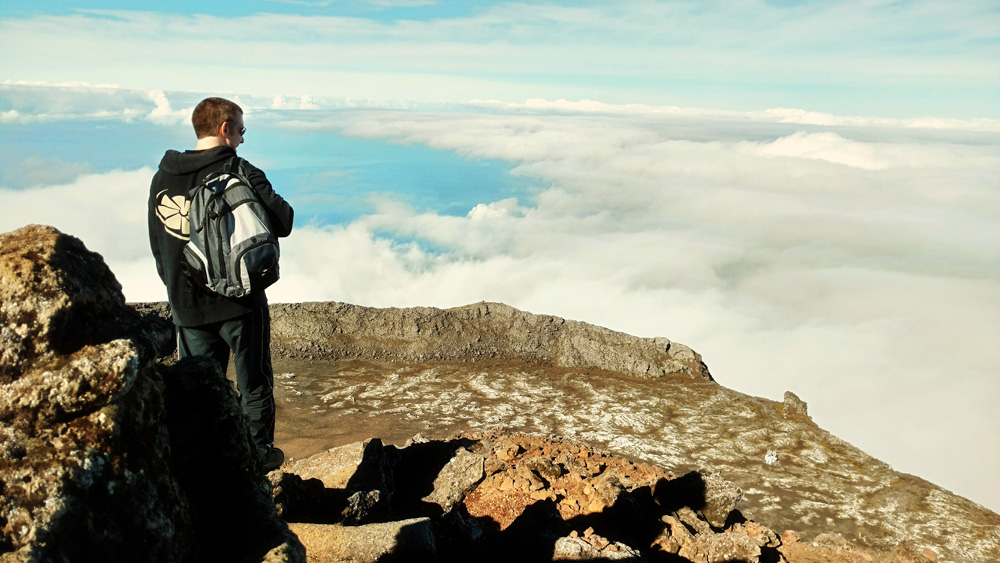
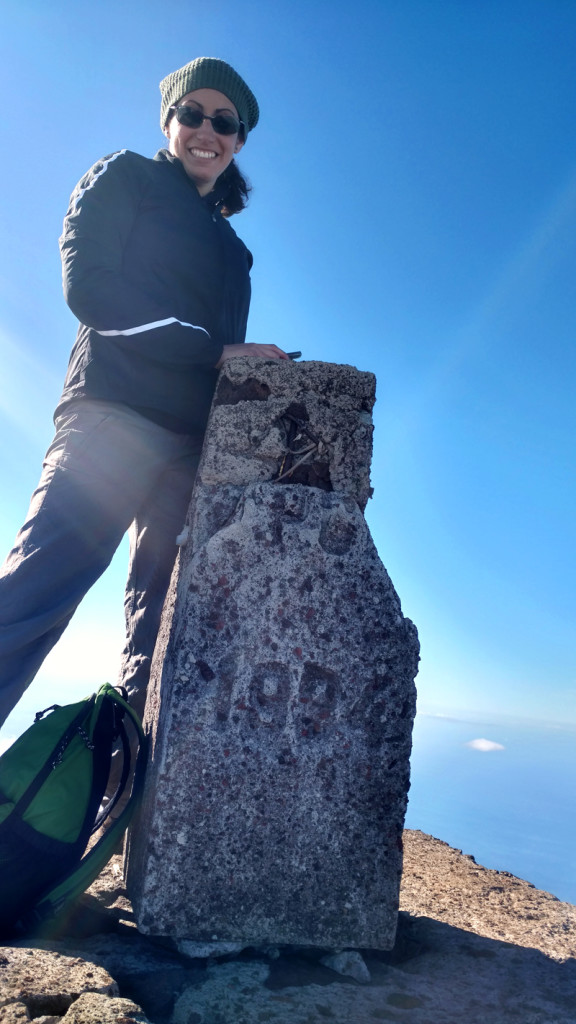
Our guide allowed my husband and I to reach the top first and have a moment. I love that we did this together and a mix of emotions came over me – fatigue, accomplishment, excitement.
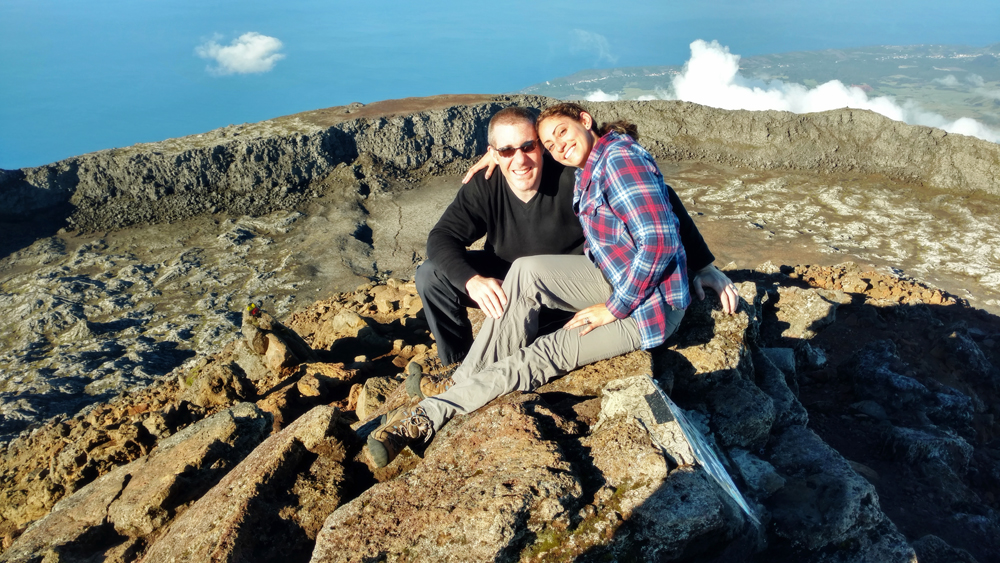
After taking it all in, we sat down for lunch – sandwiches with Bolo Lêvedo. This bread reminded me of an English muffin but with a softer texture and sweeter taste. I had packed it with ham, apple slices, and cheese from Sao Jorge (another island in the Azores). Having reached the top, taking in the fresh air and surrounded by the beauty of the Azores, this lunch time was extra special.
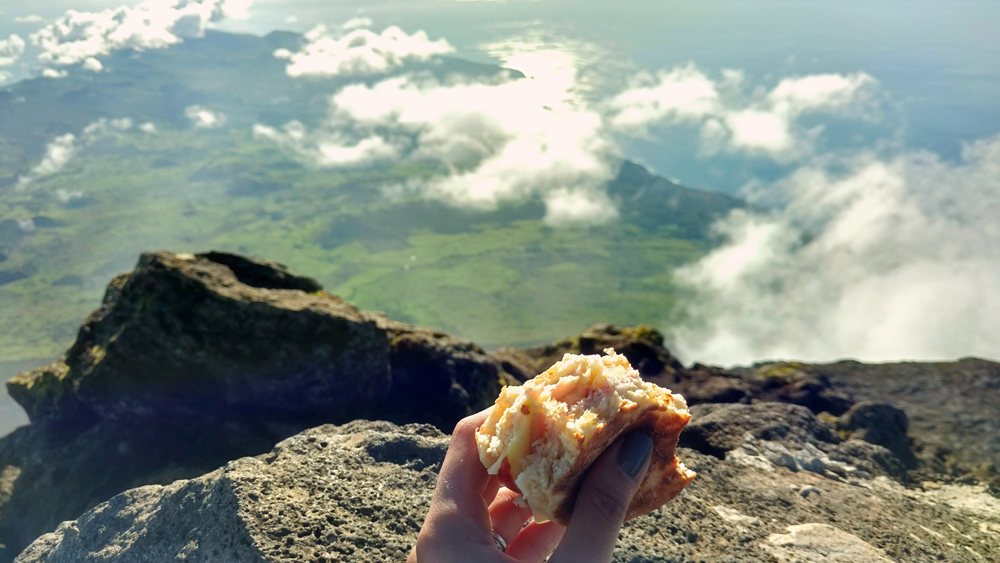 I couldn’t believe it when only 15 minutes later the clouds covered everything around us. Once again it made us grateful that Quim was with us this day to help us navigate the terrain and make it to the top in good time so we wouldn’t miss out on the spectacular view.
Now it was time to make our way back down. For most it’s the worst part – tough on your knees, there’s no grand vista to look forward to, etc. But this wasn’t the case for me because I was so happy I hadn’t given up. I also felt more relaxed and we took the time to explore and check out craters on the way down.
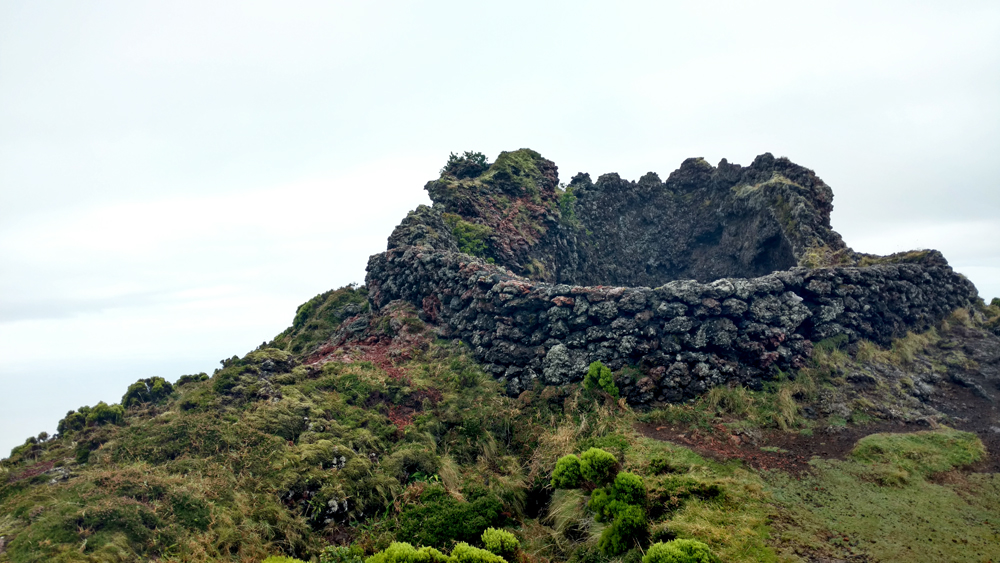
Pico certainly tested my resilience but once we were done, I was on an “I did it!” high and realized that in the 6.5 hours of very few words exchanged – I actually learned a lot.
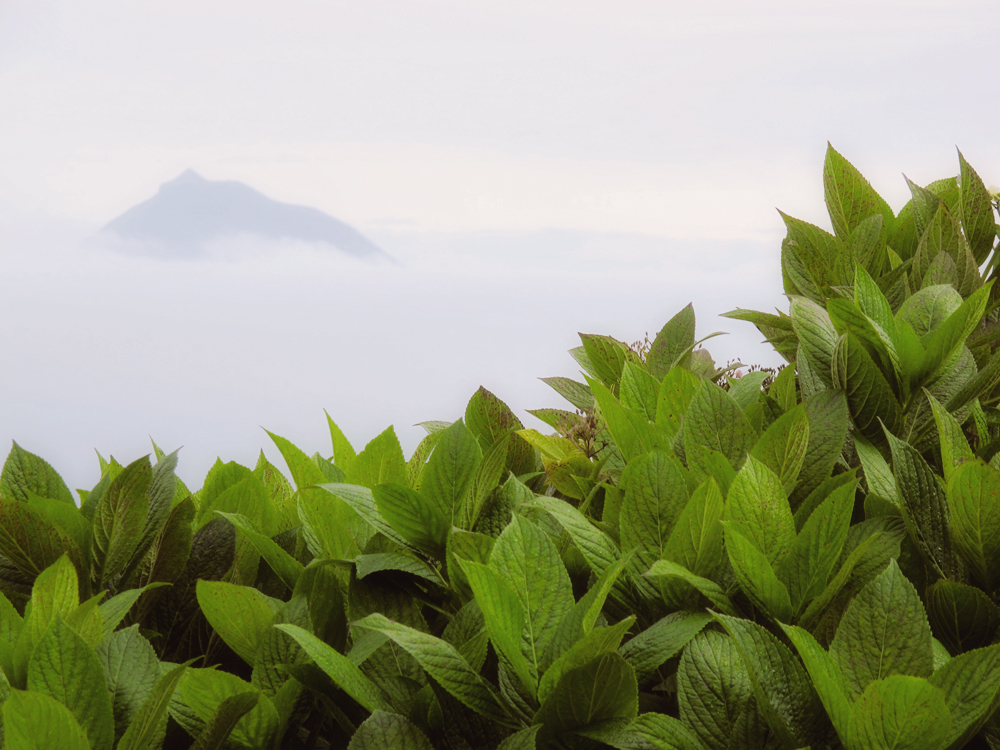


A few more notes on Pico:
- it is the highest mountain in Portugal with an elevation of 7,713 ft (2,351 m)
- Pico has been dormant since 1718
- Allow yourself 6 to 8 hours total time for going up and down the mountain (dependent on fitness level)
If you’re visiting the Azores and want to climb Pico (it’s an experience you won’t forget!), here’s a very informative site: http://climbingpicoazores.blogspot.com/p/the-mountain.html
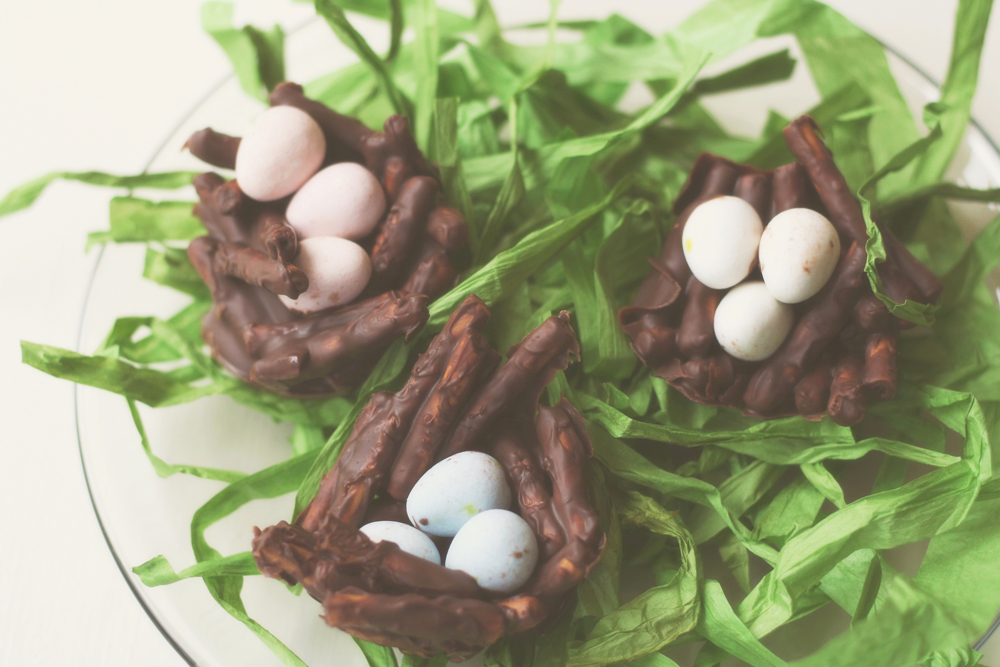
I’m not much of a baker and was pressed for time this week but wanted to make a festive dessert to bring to my family’s get together for Easter. I searched online for inspiration and came across images for edible bird nests. I made them last night and they turned out super cute, were easy to make and took very little time to prepare.
For my edible bird nests I used pretzel sticks but I saw many people using chow mein noodles (which I imagine would be a bit easier to gather into little nest shapes).
I coated my pretzels with a combo of melted chocolate and butterscotch chips (they turned out yummy). To melt you can use a double boiler or improvise like me and melt the chips inside a heat-proof bowl placed over a sauce pan with simmering water (make sure the water level is not high enough to touch the bowl). Another option is to microwave chocolate at 20-30 second intervals, stirring in between. Whichever method you choose just don’t leave it unattended to avoid burning or drying out the chocolate. That may or may not be the reason there is no photo of the white chocolate nests I had planned on making. Whoops.
Next, scoop some of the pretzels onto a platter lined with parchment paper or a greased muffin tin. Top with your favorite candy eggs (I used Cadbury mini chocolate eggs) and allow to set.
A few tips:
- an ice cream scoop helps you grab just the right amount needed for a mini nest
- if you want the eggs to stick to the nest place the candies on the nest while the chocolate is still hot
- refrigerate if you need these to set quickly
I think making these with kids would be a fun activity. They are perfect to celebrate Easter, Spring or a love of cute desserts!
I’m terrible with instructions and improvise a lot in the kitchen…but here’s a link with the basic ingredients and steps to follow: http://www.joyofbaking.com/EasterNests.html
It’s spring time and I’m in the mood for planting! Unfortunately for me, I do not have a green thumb. This week-end I visited a nearby garden center for suggestions on hardy plants that I wouldn’t cause an untimely death to before I returned to my car (yes, I’m that bad with plants).
I’ve always LOVED the look of succulents and lucky for me, turns out these babies are pretty low maintenance. Keep in mind, that came directly from an experienced gardener stating, “they’re plants just plant them and they’ll grow.” Ha! Not in my experience my super confident gardener friend.
Nevertheless, I was excited to create an arrangement for my window sill. Here are the steps I took after following tips from people that are way better at maintaining their plants alive.
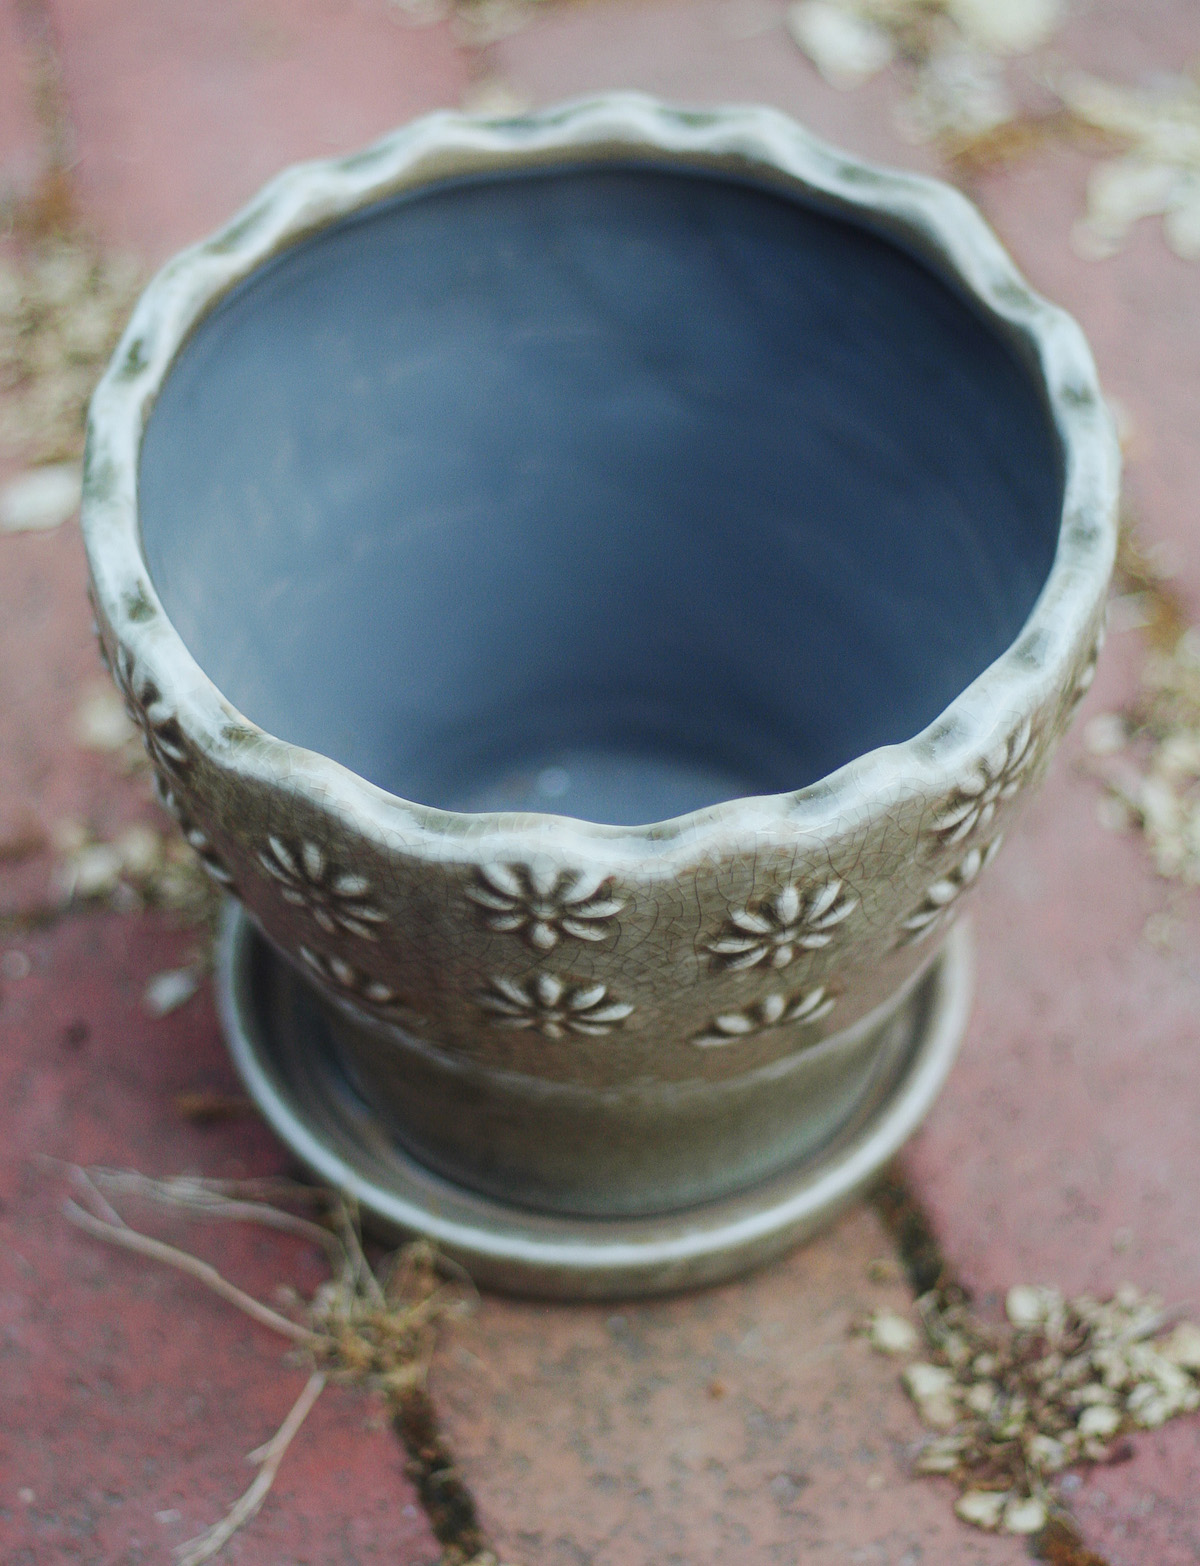
1. Select a pot: I loved this pretty gray one I found at Home Depot (of all places)
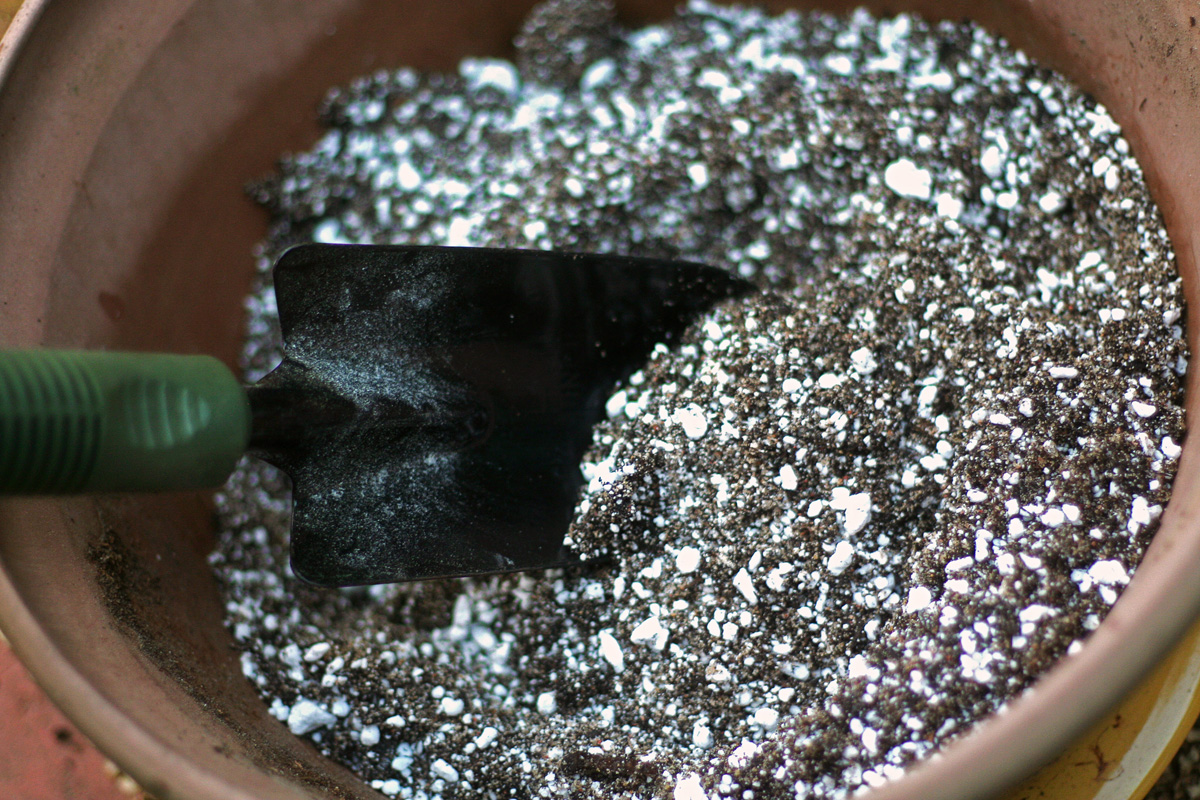
2. Combine Perlite, Sand and Garden soil for an easy DIY mix that works great for Succulent or Cactus plants
3. Enjoy your simple and beautiful succulent arrangement (I love the vivid green color on this one)
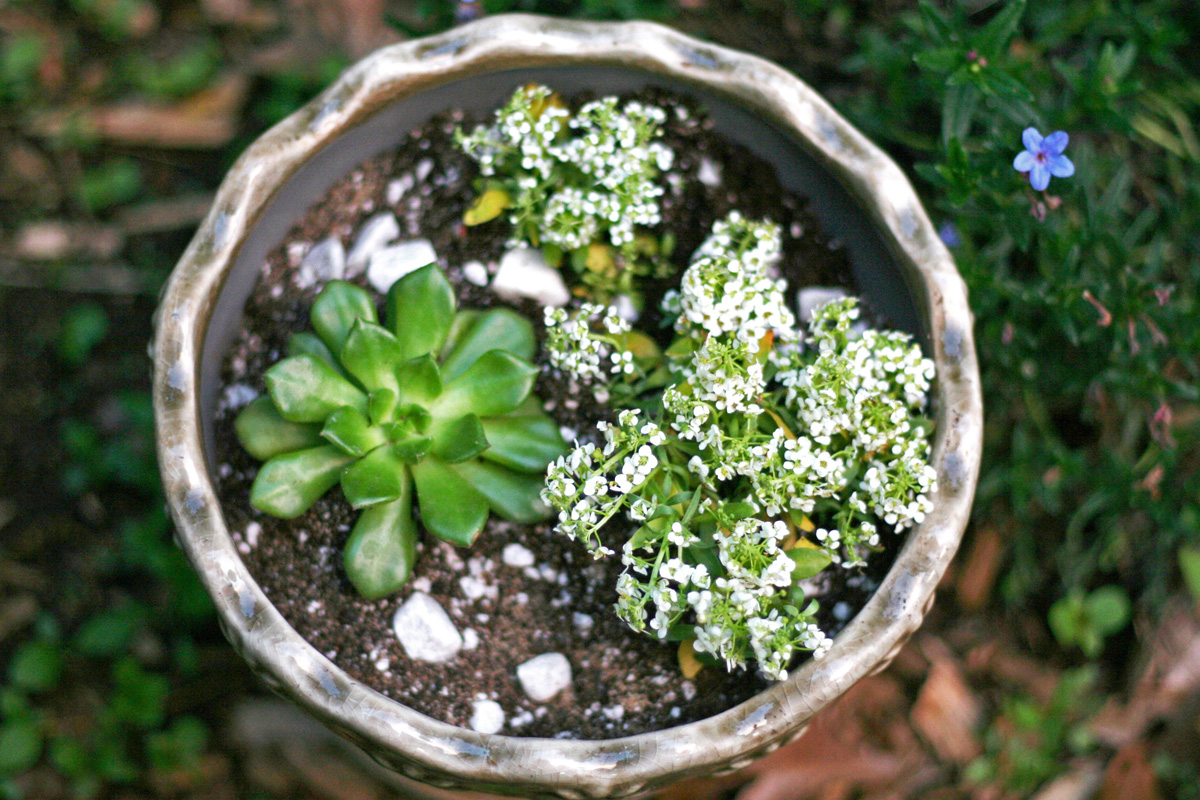 Note: the small white perennial flowers are actually separated in their own container, I planted them deeper than the succulent and added additional soil to prevent the container from showing. They will need more water than the succulent requires… it’s a bit of an experiment to see if by separating them this way I’ll manage to prevent too much water from reaching the succulent roots.
I love adding little touches of personality to our living space. Whether it be mine, my husband’s or a mix of both our tastes, I treasure making our house feel like home. Living in New England makes it particularly fun since it gives me an excuse to switch things up decor-wise and celebrate the upcoming season. Wreaths are my new favorite item to personalize and I love that you can customize one easily and have it hanging from your door in minutes!
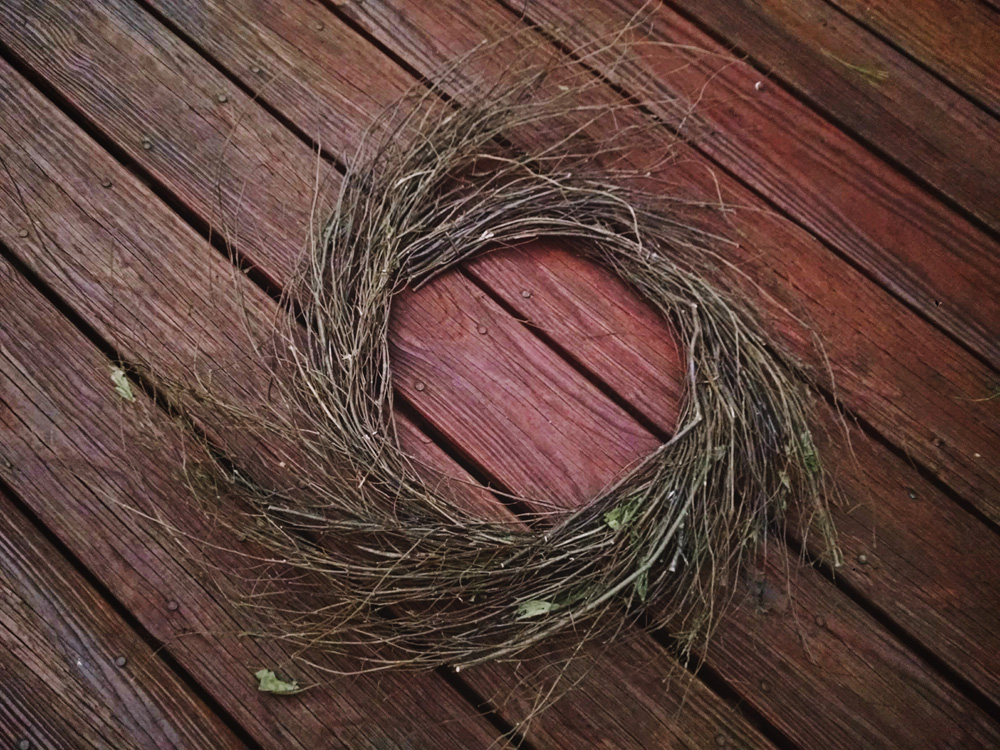
To decorate my front door for the Fall I used a grapevine wreath that was purchased online along with a few faux floral accents purchased from a local store:
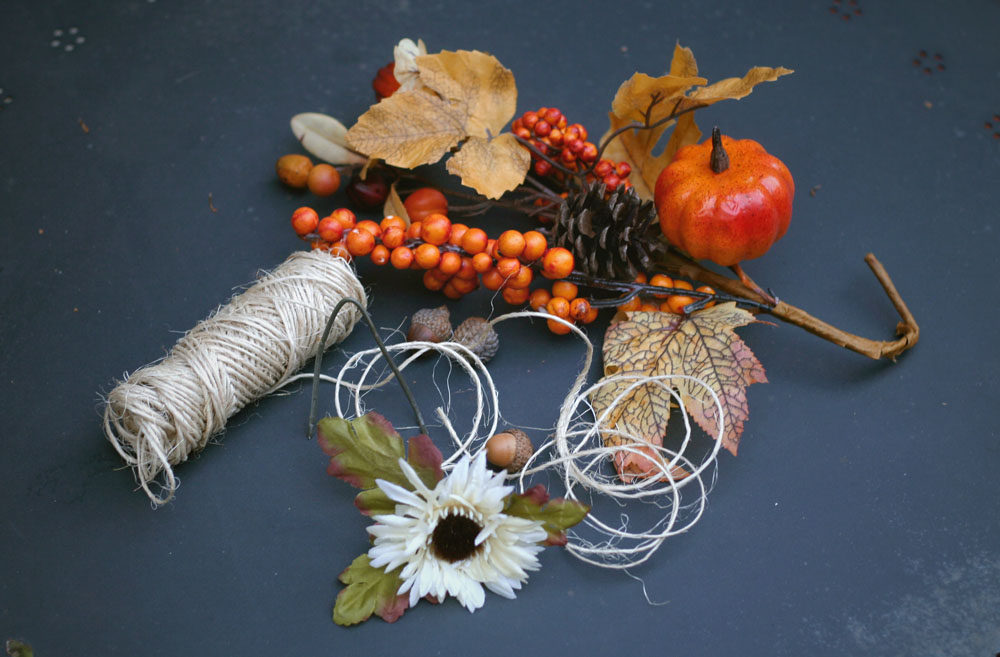
Here comes the complicated part. Are you ready? Take the wire stems from your accent pieces and wrap them around (or gently wedge into) different sections on the wreath. I know, I know, you may have to read that part again but that’s really it.
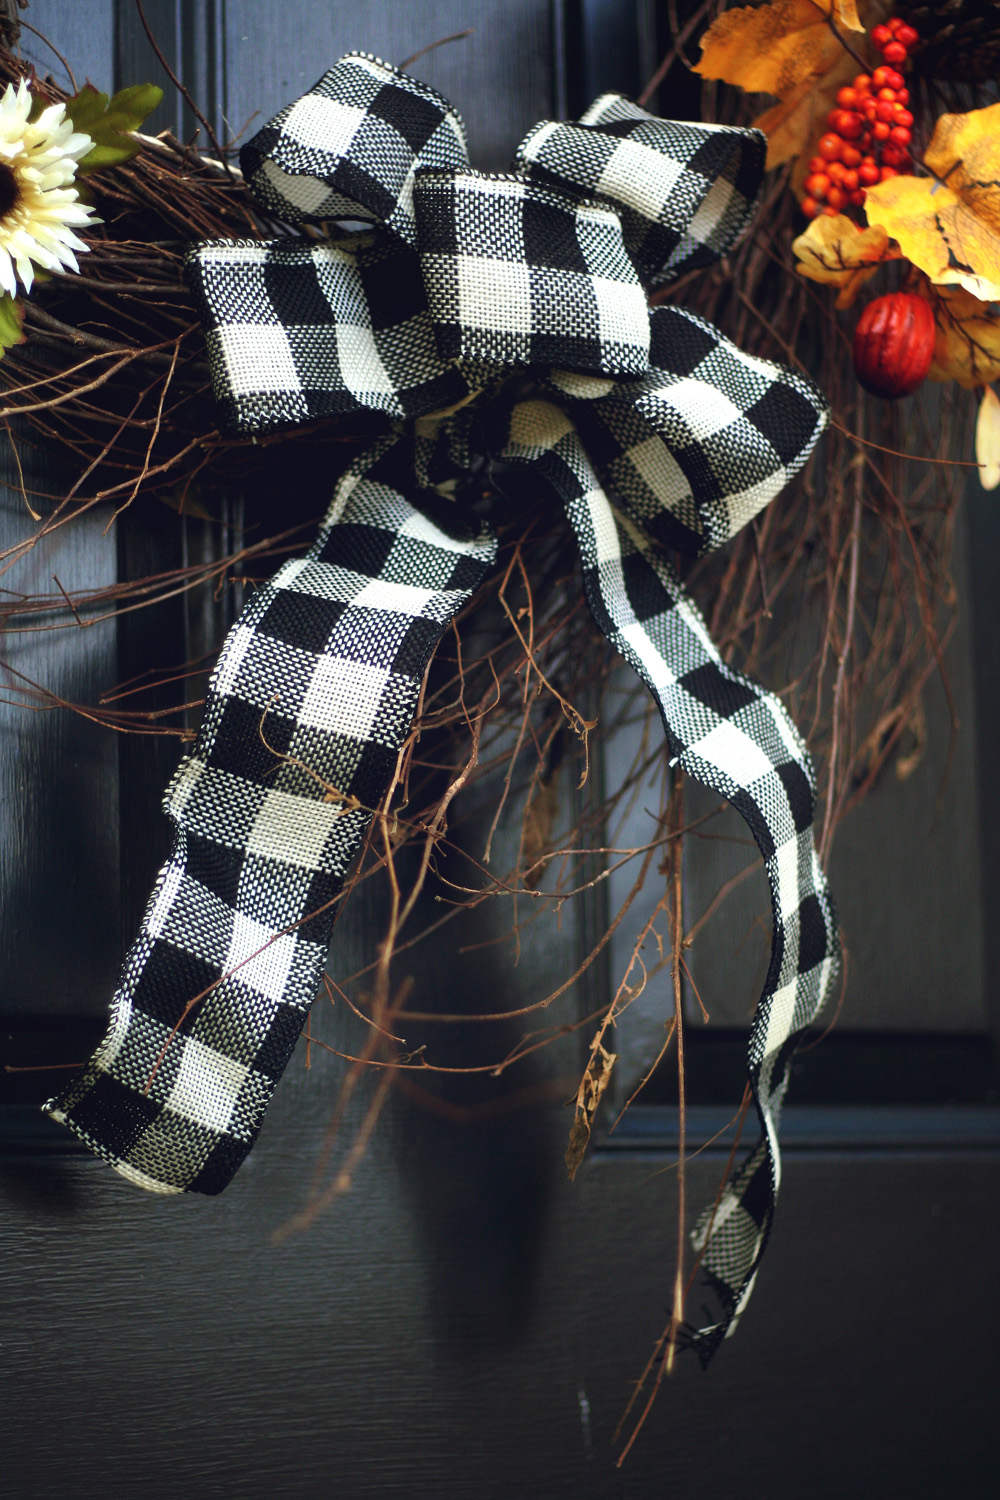
Now comes the ribbon – it’s like putting the topper on a Christmas tree! You can go with something traditional, whimsical, elegant…I opted for a black and white gingham pattern that felt a bit country chic. To me it evokes a cozy and inviting feeling and hopefully for my guests as well.
I saw my sister make a bow once and tried to recreate it from memory…lucky for me metal wired ribbon is VERY forgiving. There are thousands of online tutorials for how to make a beautiful bow, so I’ll spare you my “bunch it up and hope it looks good” approach. I used a bit of twine to attach my bow to the wreath and here’s the final look:
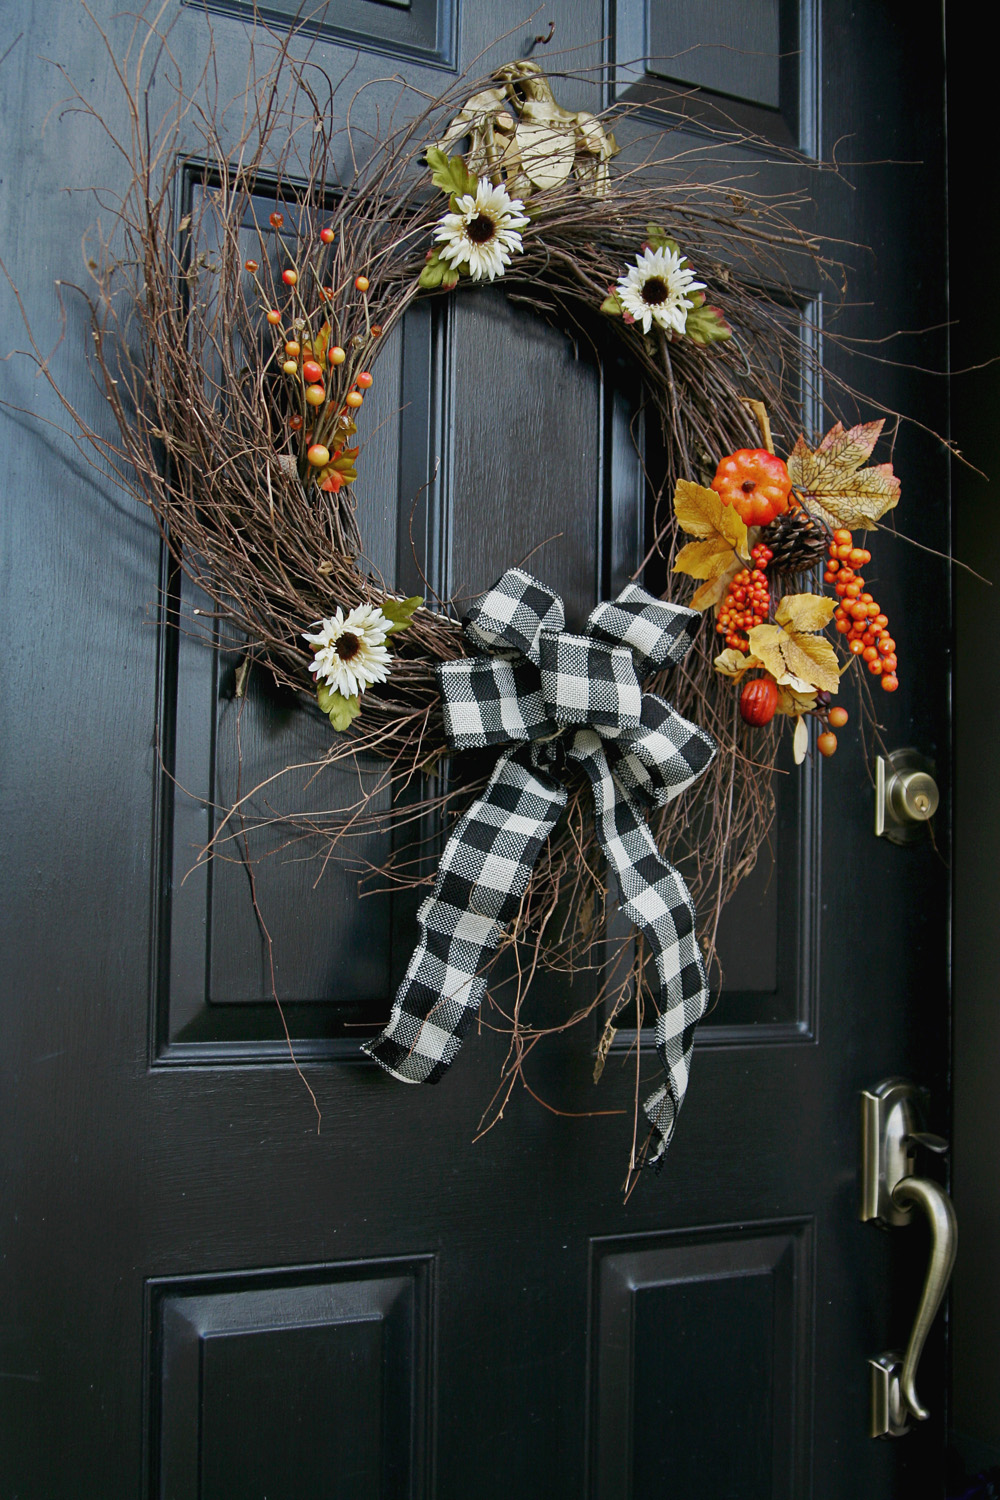
As you can see there was no complicated tutorial here but that’s the point – adding personal touches to your home decor shouldn’t be intimidating. This project allows you to create a unique wreath at a fraction of the cost of purchasing a decorated one and since there’s no glue-gun involved you can repurpose the same wreath by using different accents for various occasions.
Let me know if this inspired a little wreath DIY in your home.
If you love DIY, then you’re probably no stranger to spray paint. To celebrate the start of Autumn, I rescued half-used cans of spray paint from the cobwebs in my basement and prepared for my first decor project of the season.
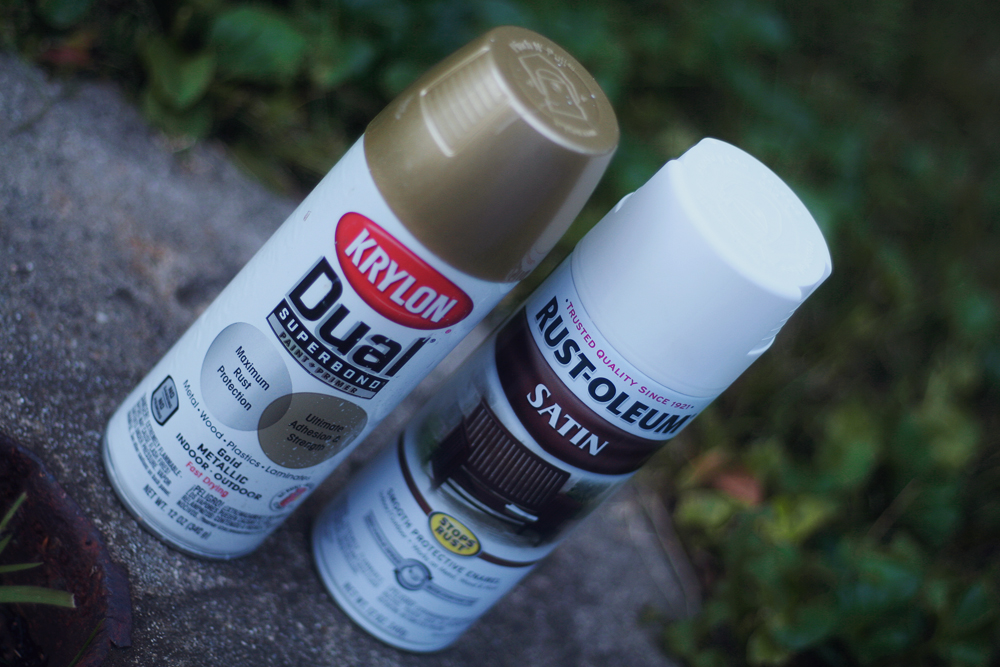
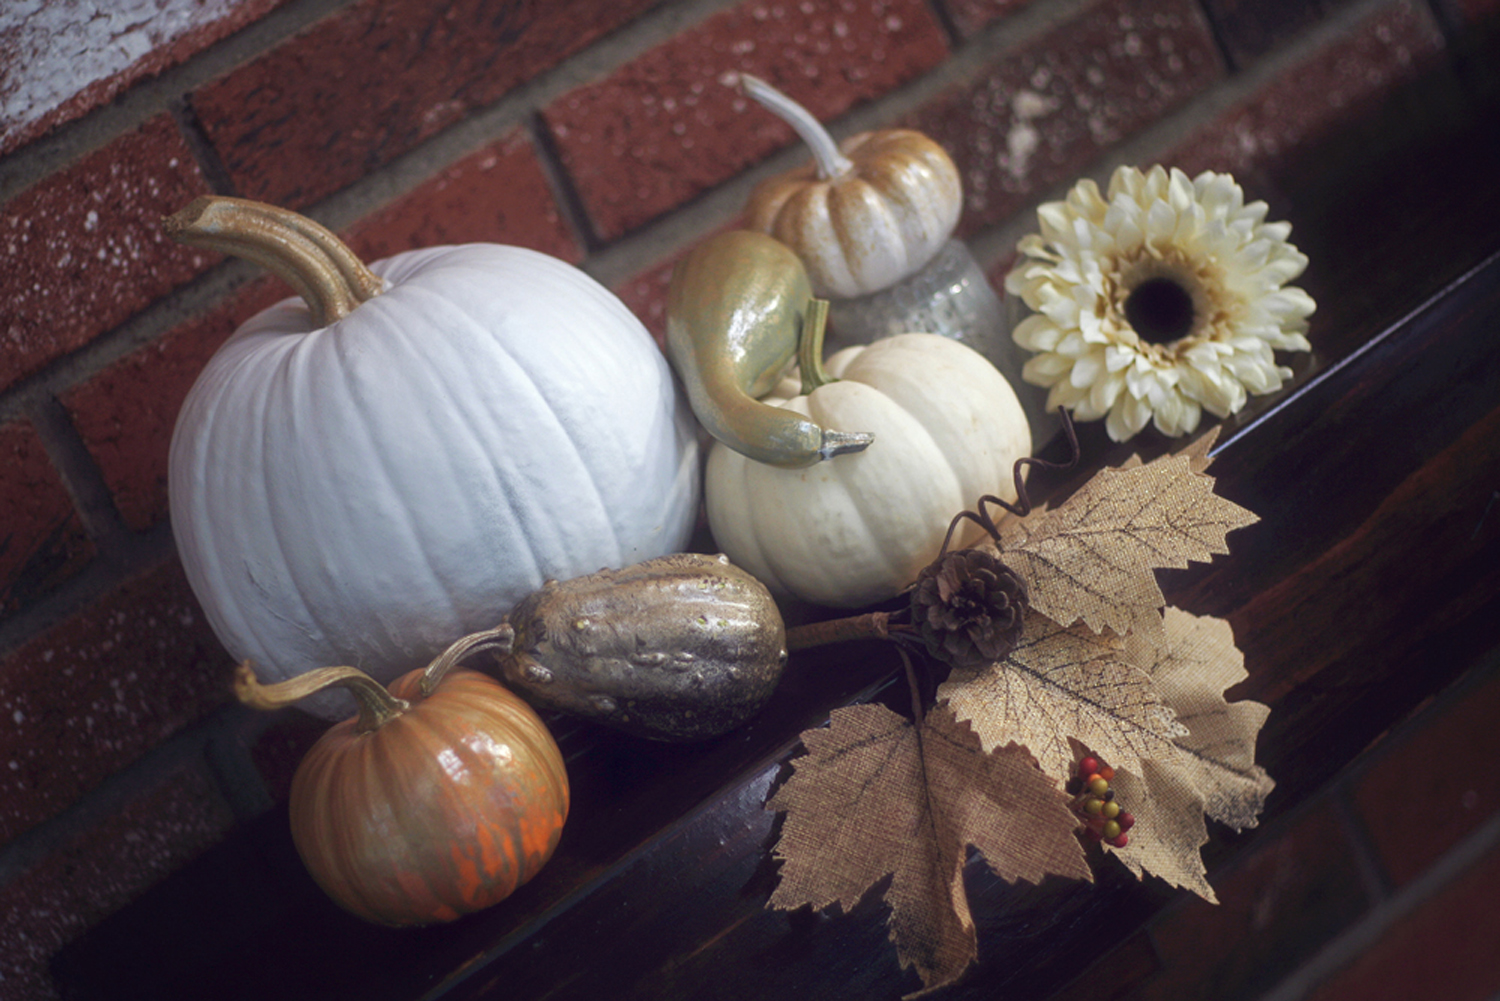
I don’t go extreme with Fall decorations but love mini pumpkins and wanted to incorporate them as accessories on our mantle. The problem? I wasn’t feeling how the bright orange pumpkin color stuck out in contrast to the mostly neutral color palette of that room. I decided white, brown and sage would look much nicer against our brick wall along with a metallic spray paint. My first pumpkin was painted all in white (stem included) followed by a few quick sprays of gold that naturally dripped down to create the effect you see here:
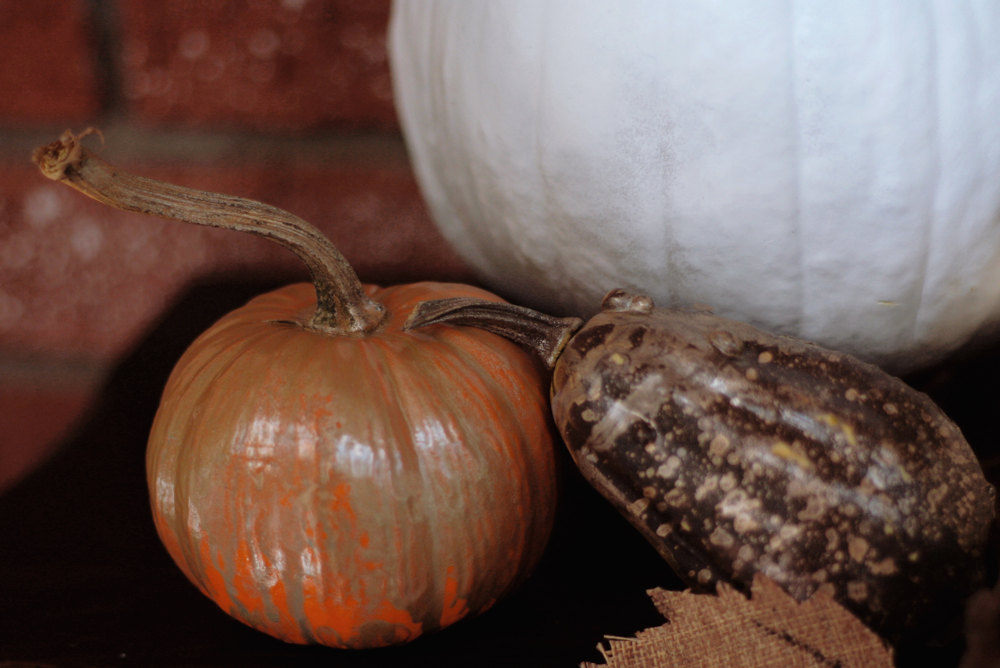
Others were haphazardly sprayed to allow the natural pumpkin color to peek through. I also purchased tiny gourds, layering on different spray paint colors for a subtle shimmer or speckled effect.
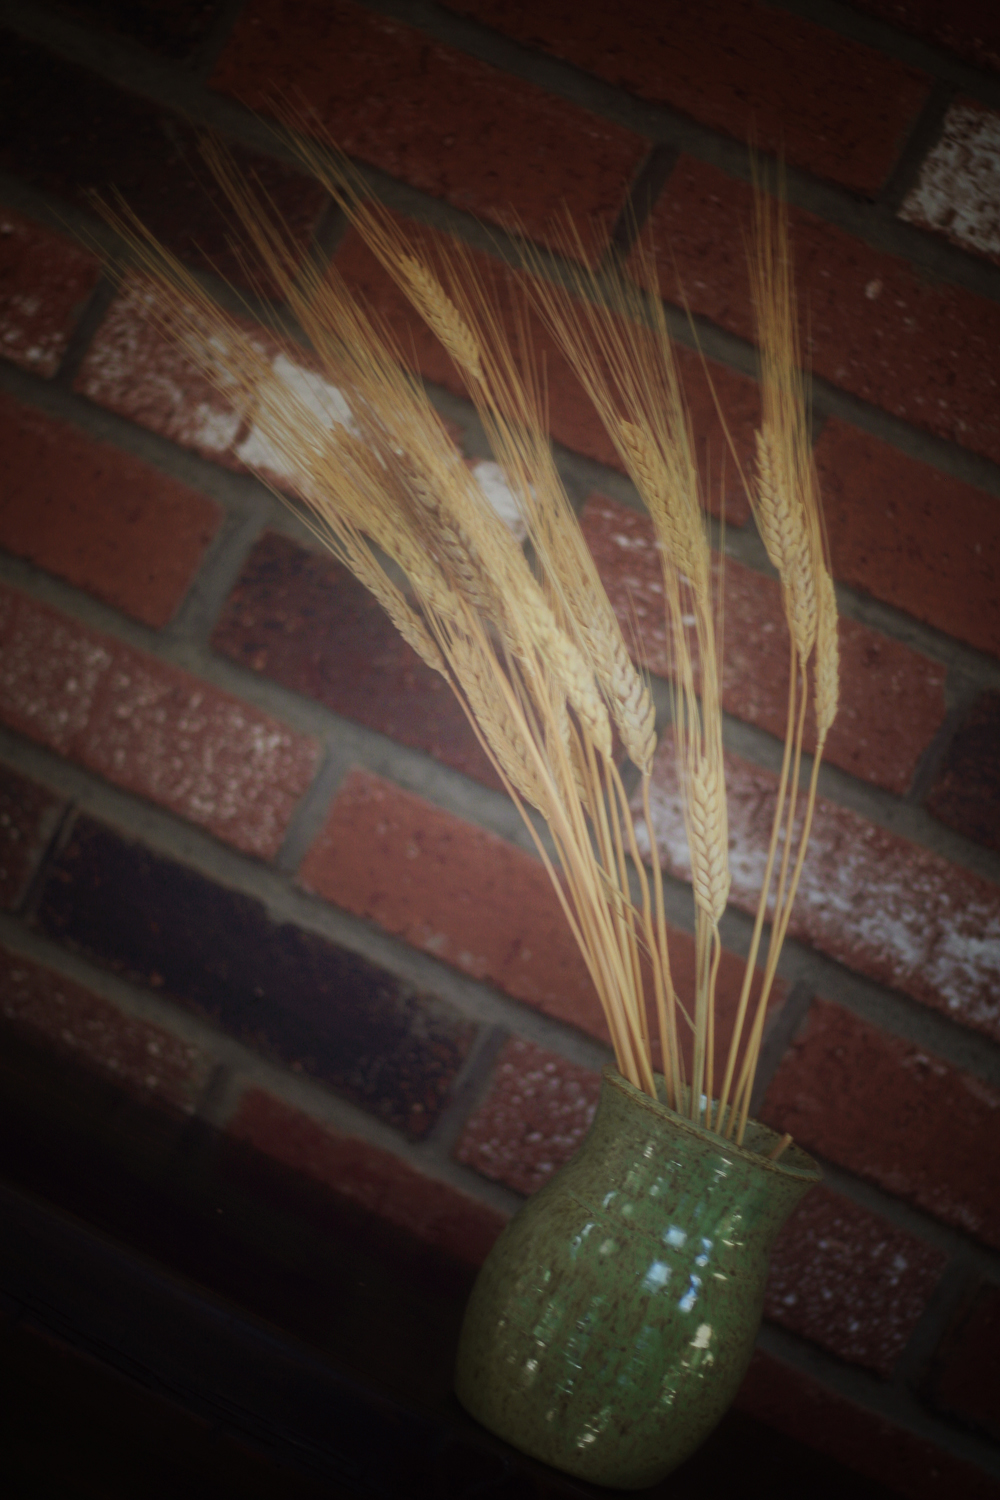
Make sure to allow time for the spray paint to completely dry before moving your pumpkins to their final location – I left mine outdoors for a few hours before moving inside. The final touch was finding this bit of wheat (left over from a party the year before) to arrange in a small vase and my Autumn inspired decor was complete!
Proud of your DIY fall decor? Feel free to share ideas in the comments below.
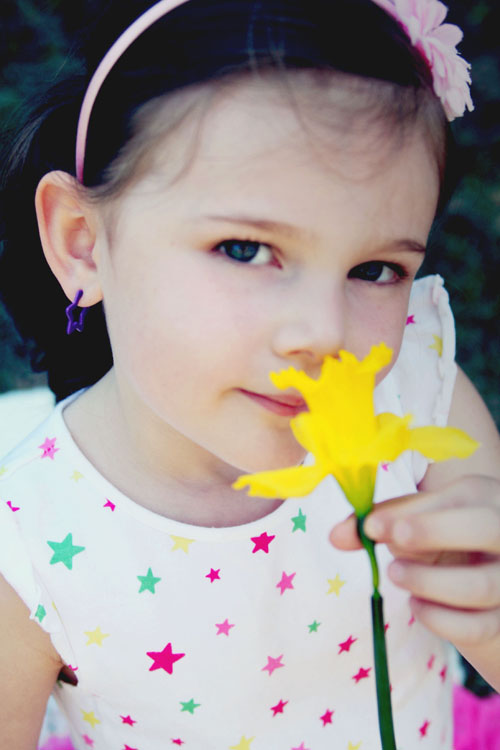
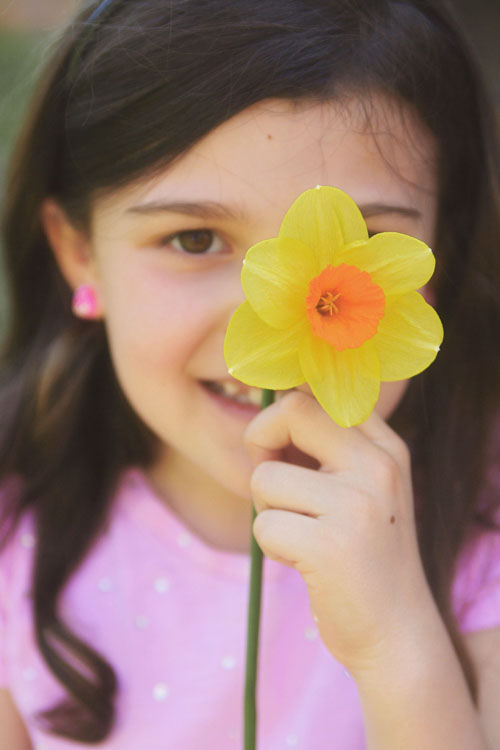
One of the best pieces of advice I’ve heard on photographing children is to let them take the lead. Sometimes a photographer or client has specific ideas for how a shoot will unfold and often children have other plans! Rather than trying to force the “perfect” shot, I’ve found it works best when you work with the child’s personality and mood. I was photographing two sisters recently and one was in a modeling mood while the other wanted to hide her face. In one instance she put a flower in front of her eye and when I asked if she’d lower it (to capture more of her cute face), I was met with giggles and a head shake. Instead of fighting it, I kept shooting. The result is one of my favorite photos of the day. So, play along with children…they will always remind you to stop and smell the roses (lillies, tullips, daffodils, etc.)!
A few thoughts that come to mind when I look at my beautiful new niece:
- I am so happy you are here
- You have an entire life ahead of you to make your dreams come true
- Did you poop in your diaper AGAIN?
Let’s focus on that second thought for a minute. Isn’t it funny that we think of the future of a baby, or young adult with so much promise but may feel like it’s too late to make a change or try something new for ourselves?
How odd that someone older, with more years of experience can actually trick themselves into thinking that it’s too late for them and that a baby (from Day 1), has the upper hand. I get it – we have more responsibilities, aren’t as “wide eyed,” but too often it’s just us. We get in our own way, make excuses, worry too much, think too much.
In fact, it’s part of the reason I started this site.
To remind myself:
I don’t know yet what will come of this blog but I know that it feels good to learn something new, to take a sweet photo, to share my thoughts and write this post. These are steps to something bigger. Baby steps mind you (pun completely intended) but steps forward none the less.
What will you do today to get closer to achieving a new goal?


